Design your signing templates without leaving Salesforce. @Sign's built-in editor lets you upload documents, define signer roles, and place fields all from within your CRM. Need something more advanced? You can always fall back to Zoho Sign's native editor.
@Sign Template Editor
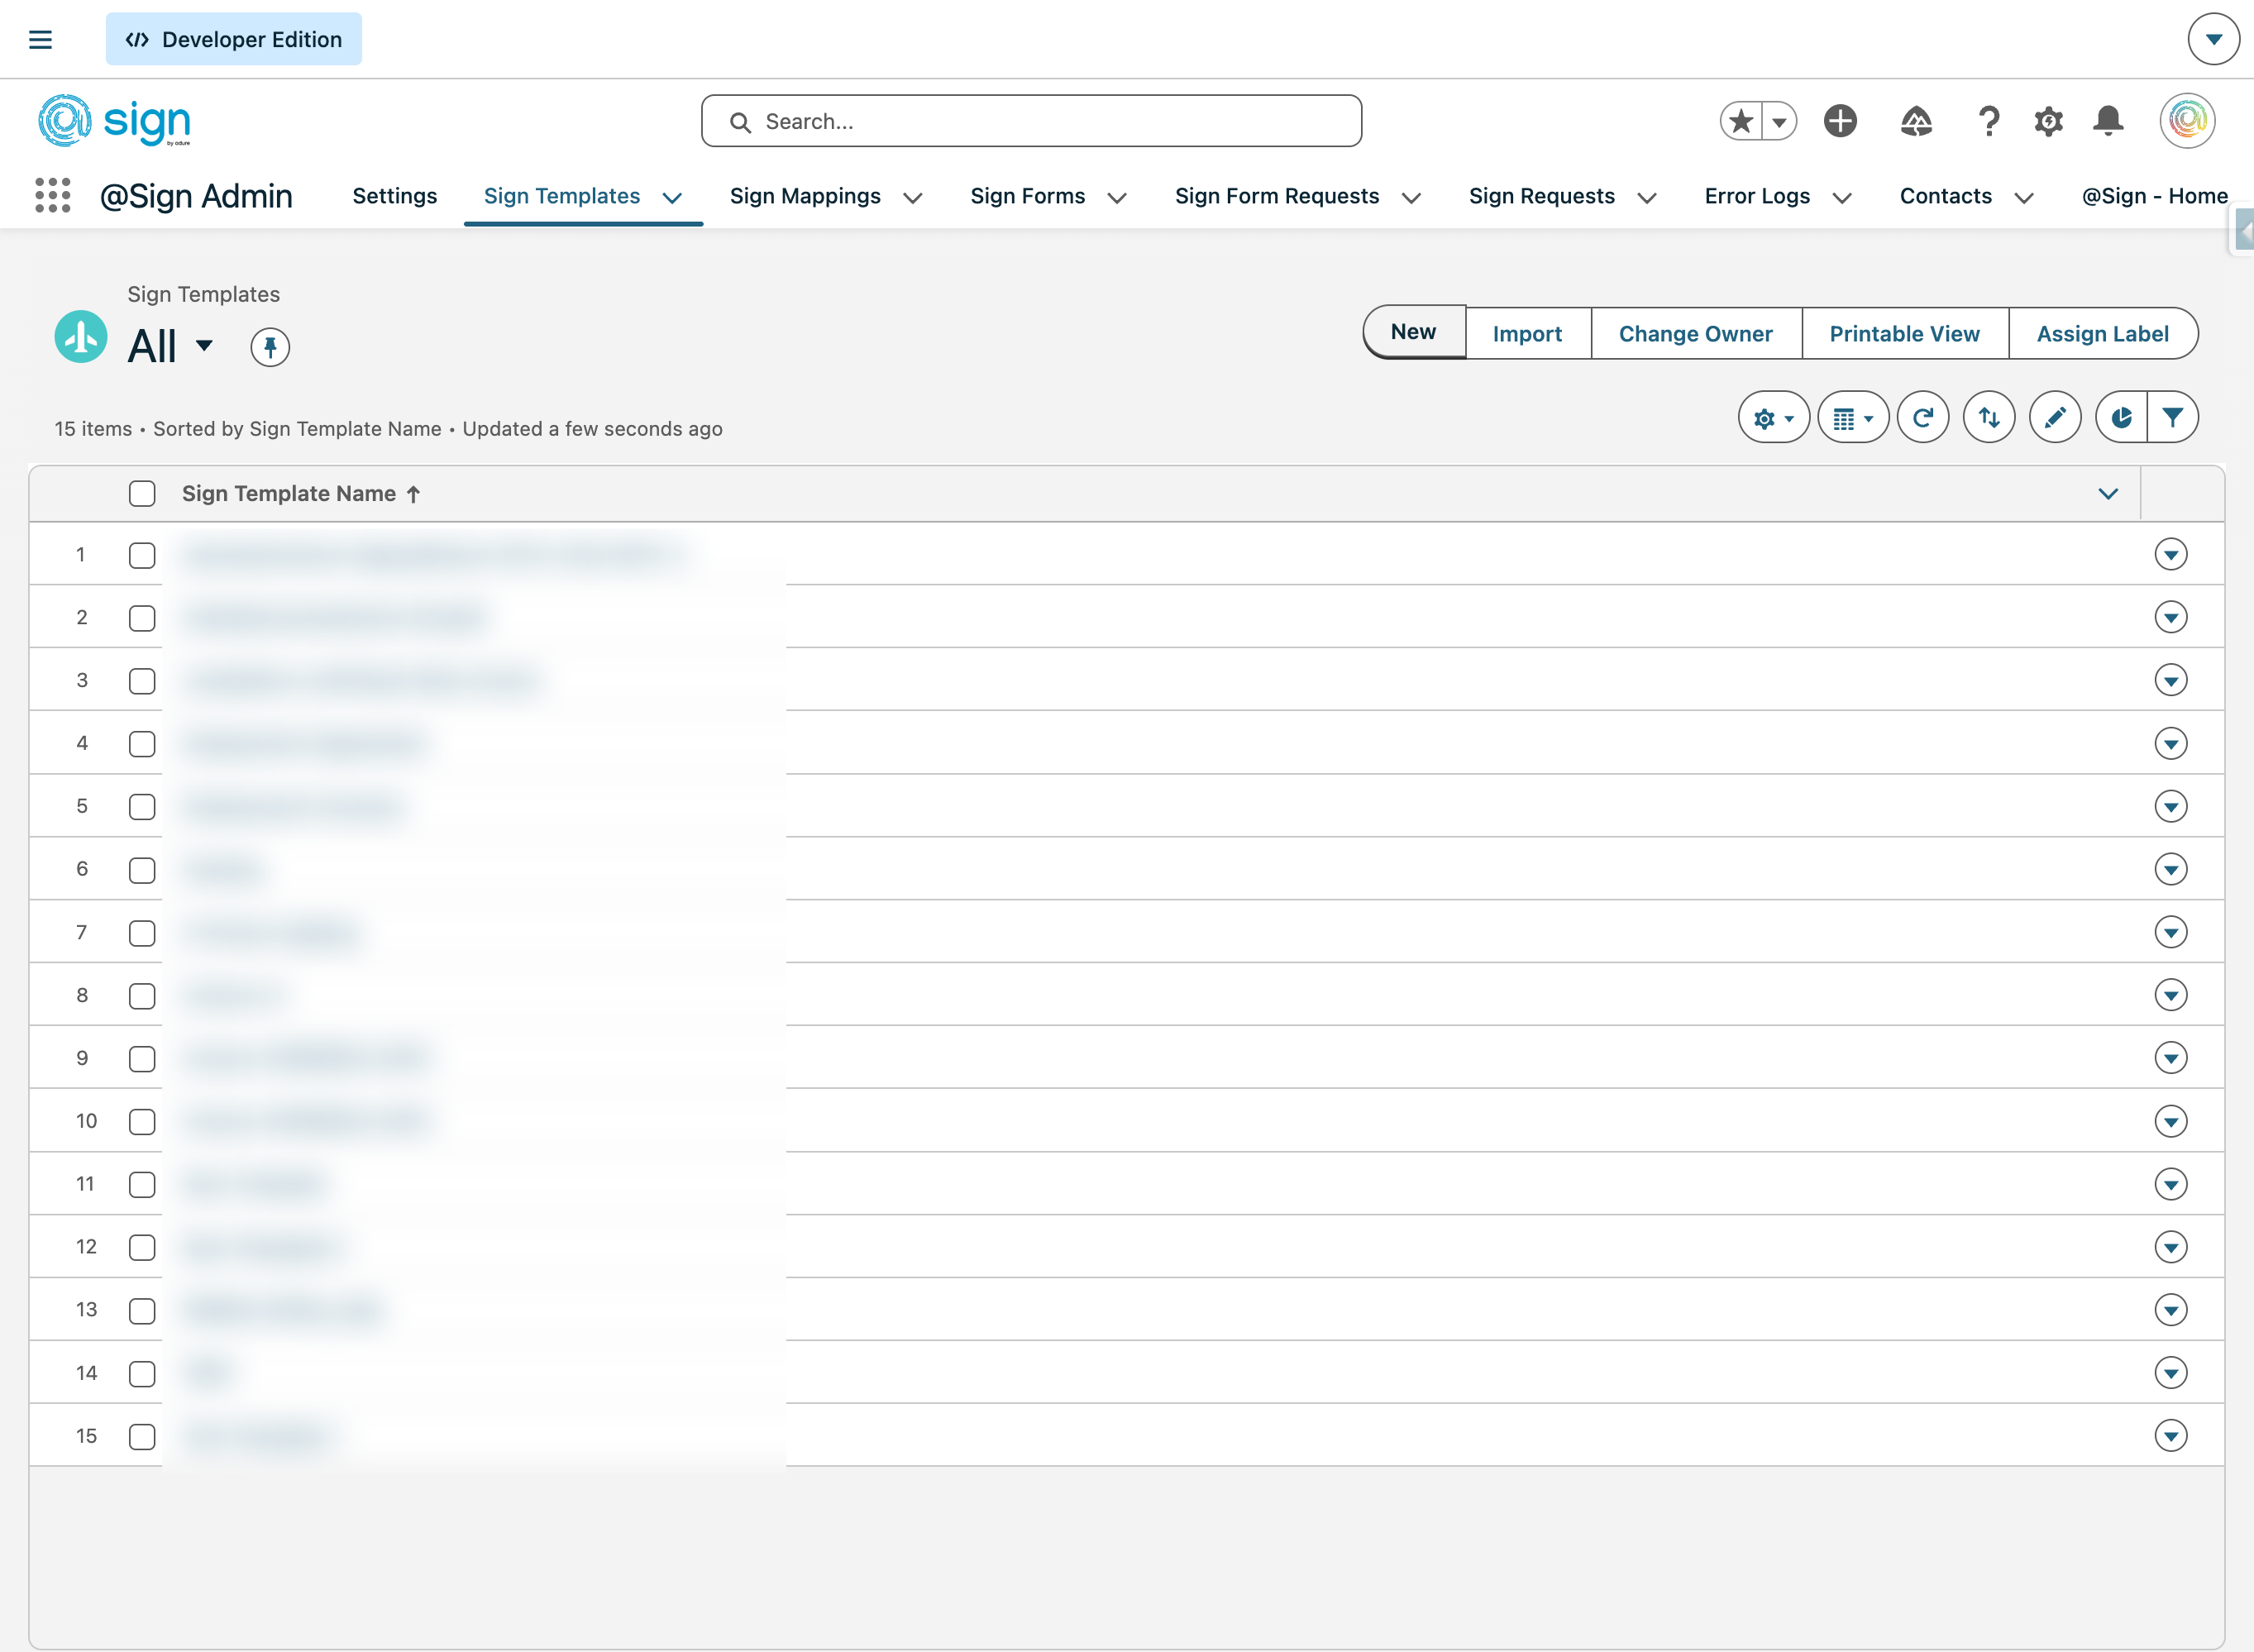
Open the Sign Templates section in your Salesforce @Sign app to manage all your document templates in one place.
Drag to pan
Click 'New' to start building a fresh template from scratch.
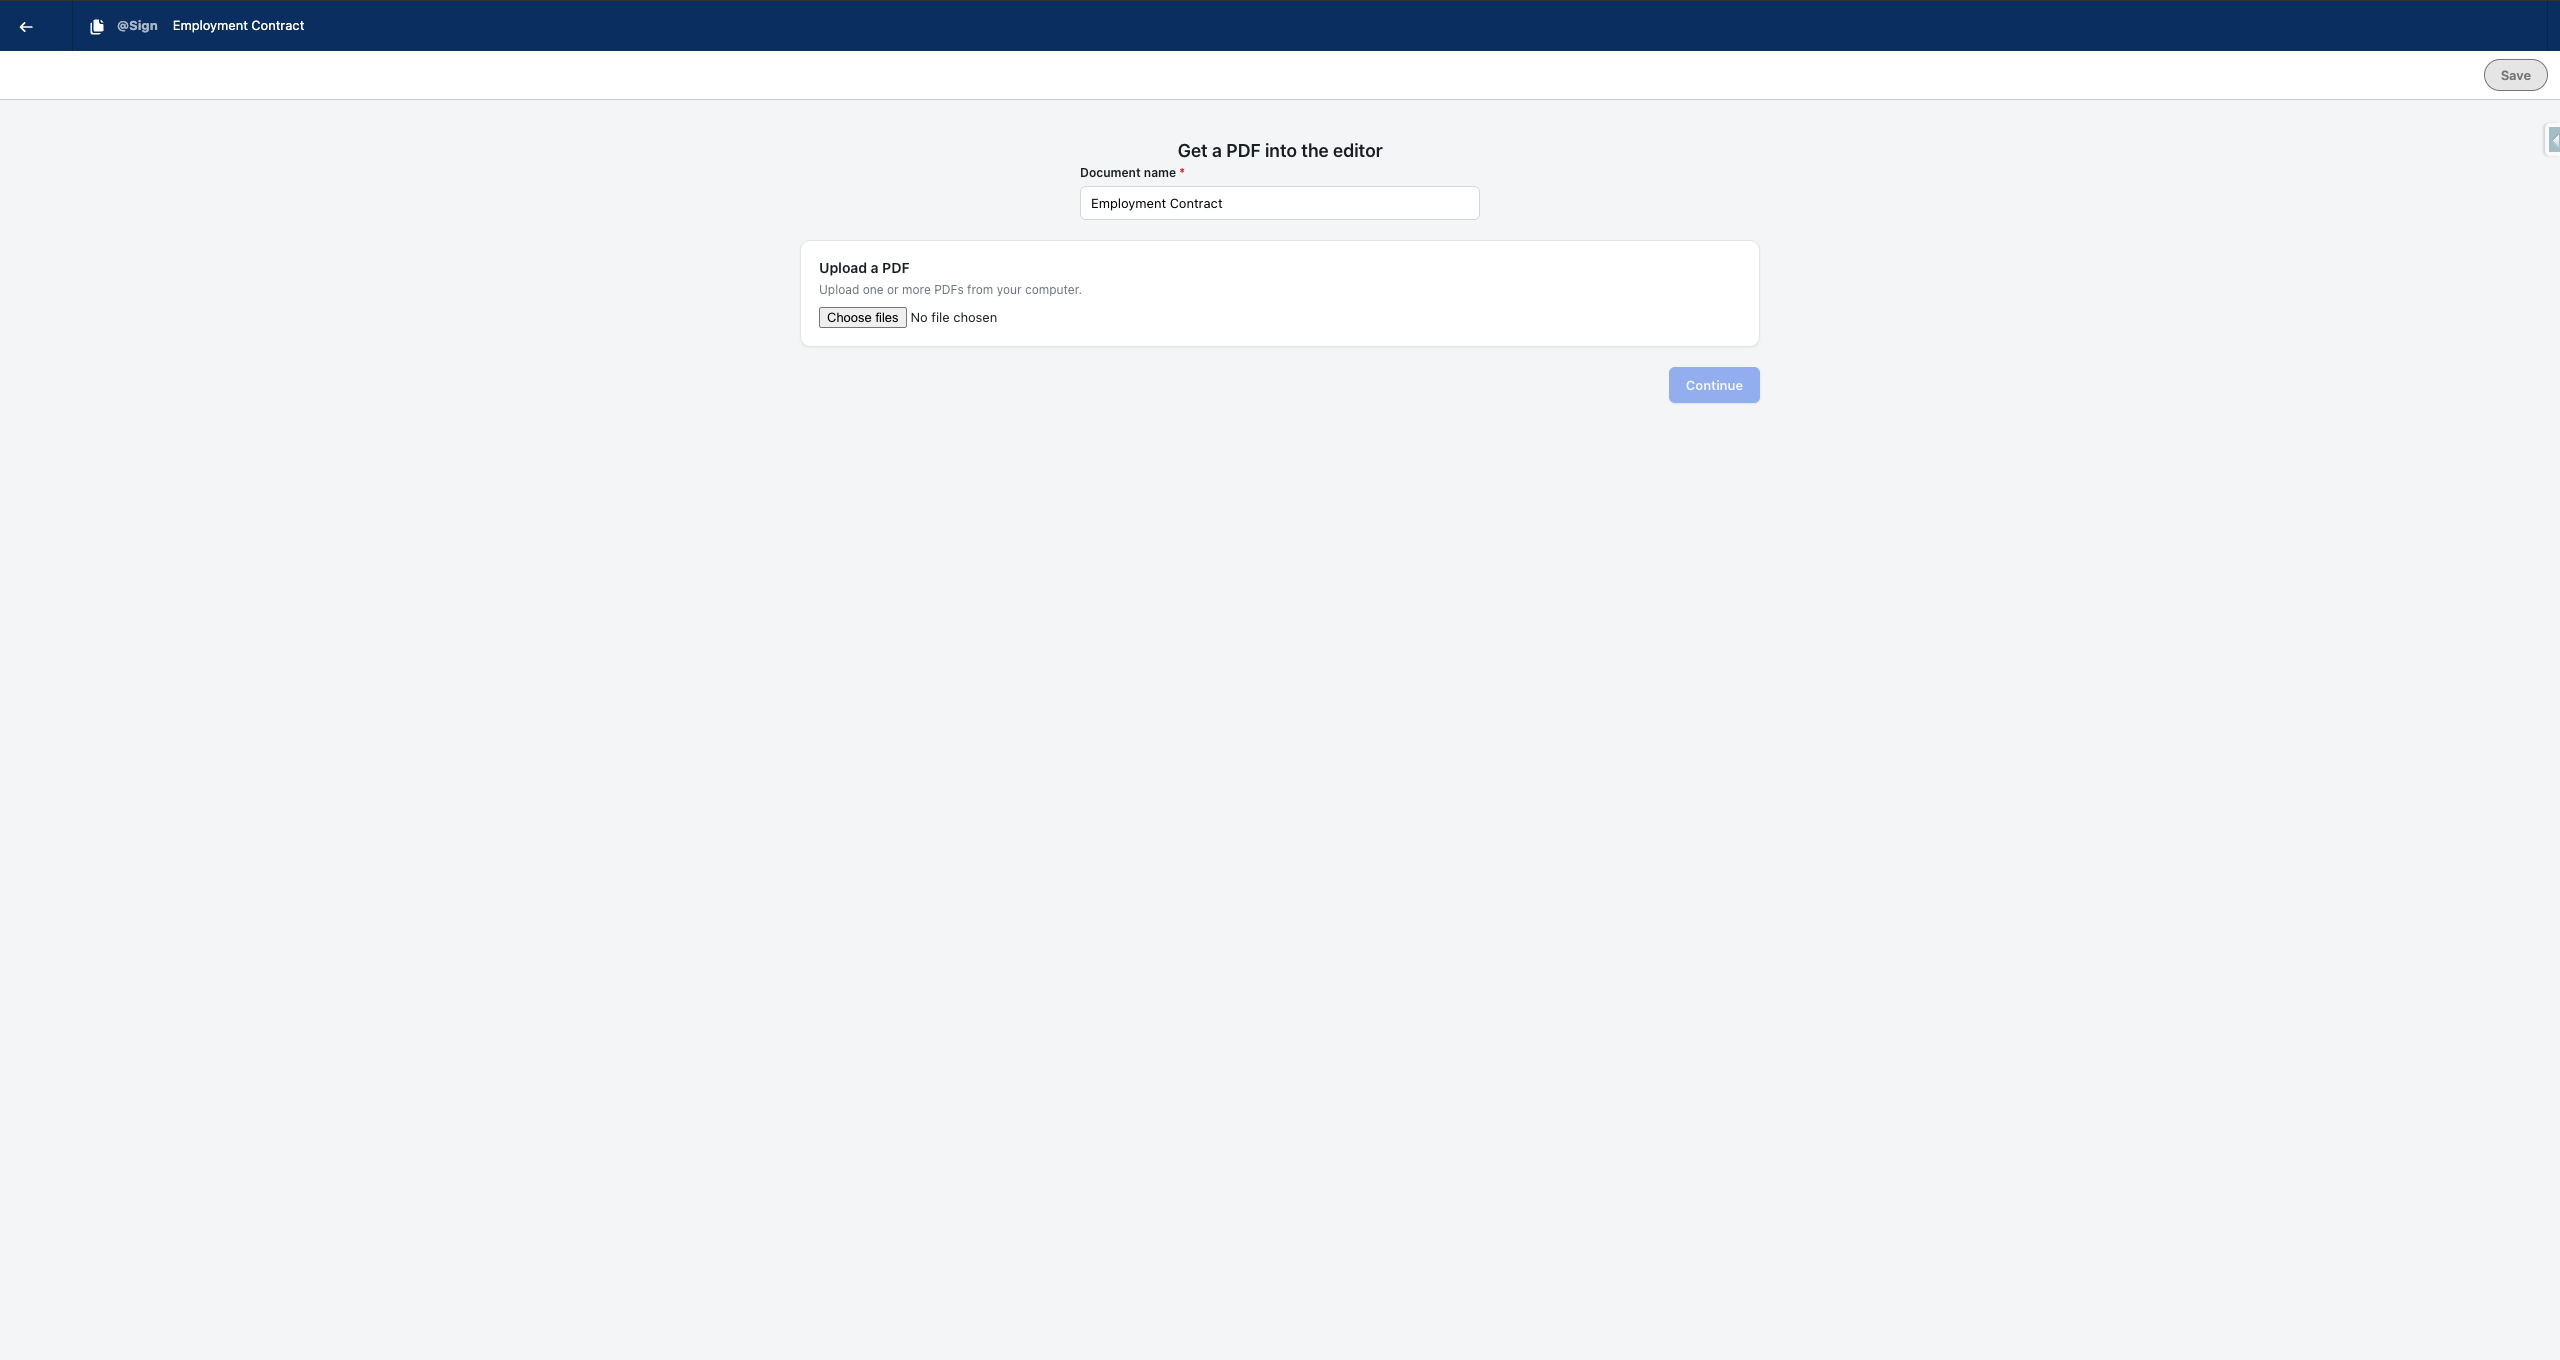
Give your template a clear, recognisable name
Drag to pan
Upload the document you want to use as the base for this template — drag and drop it or browse your files.
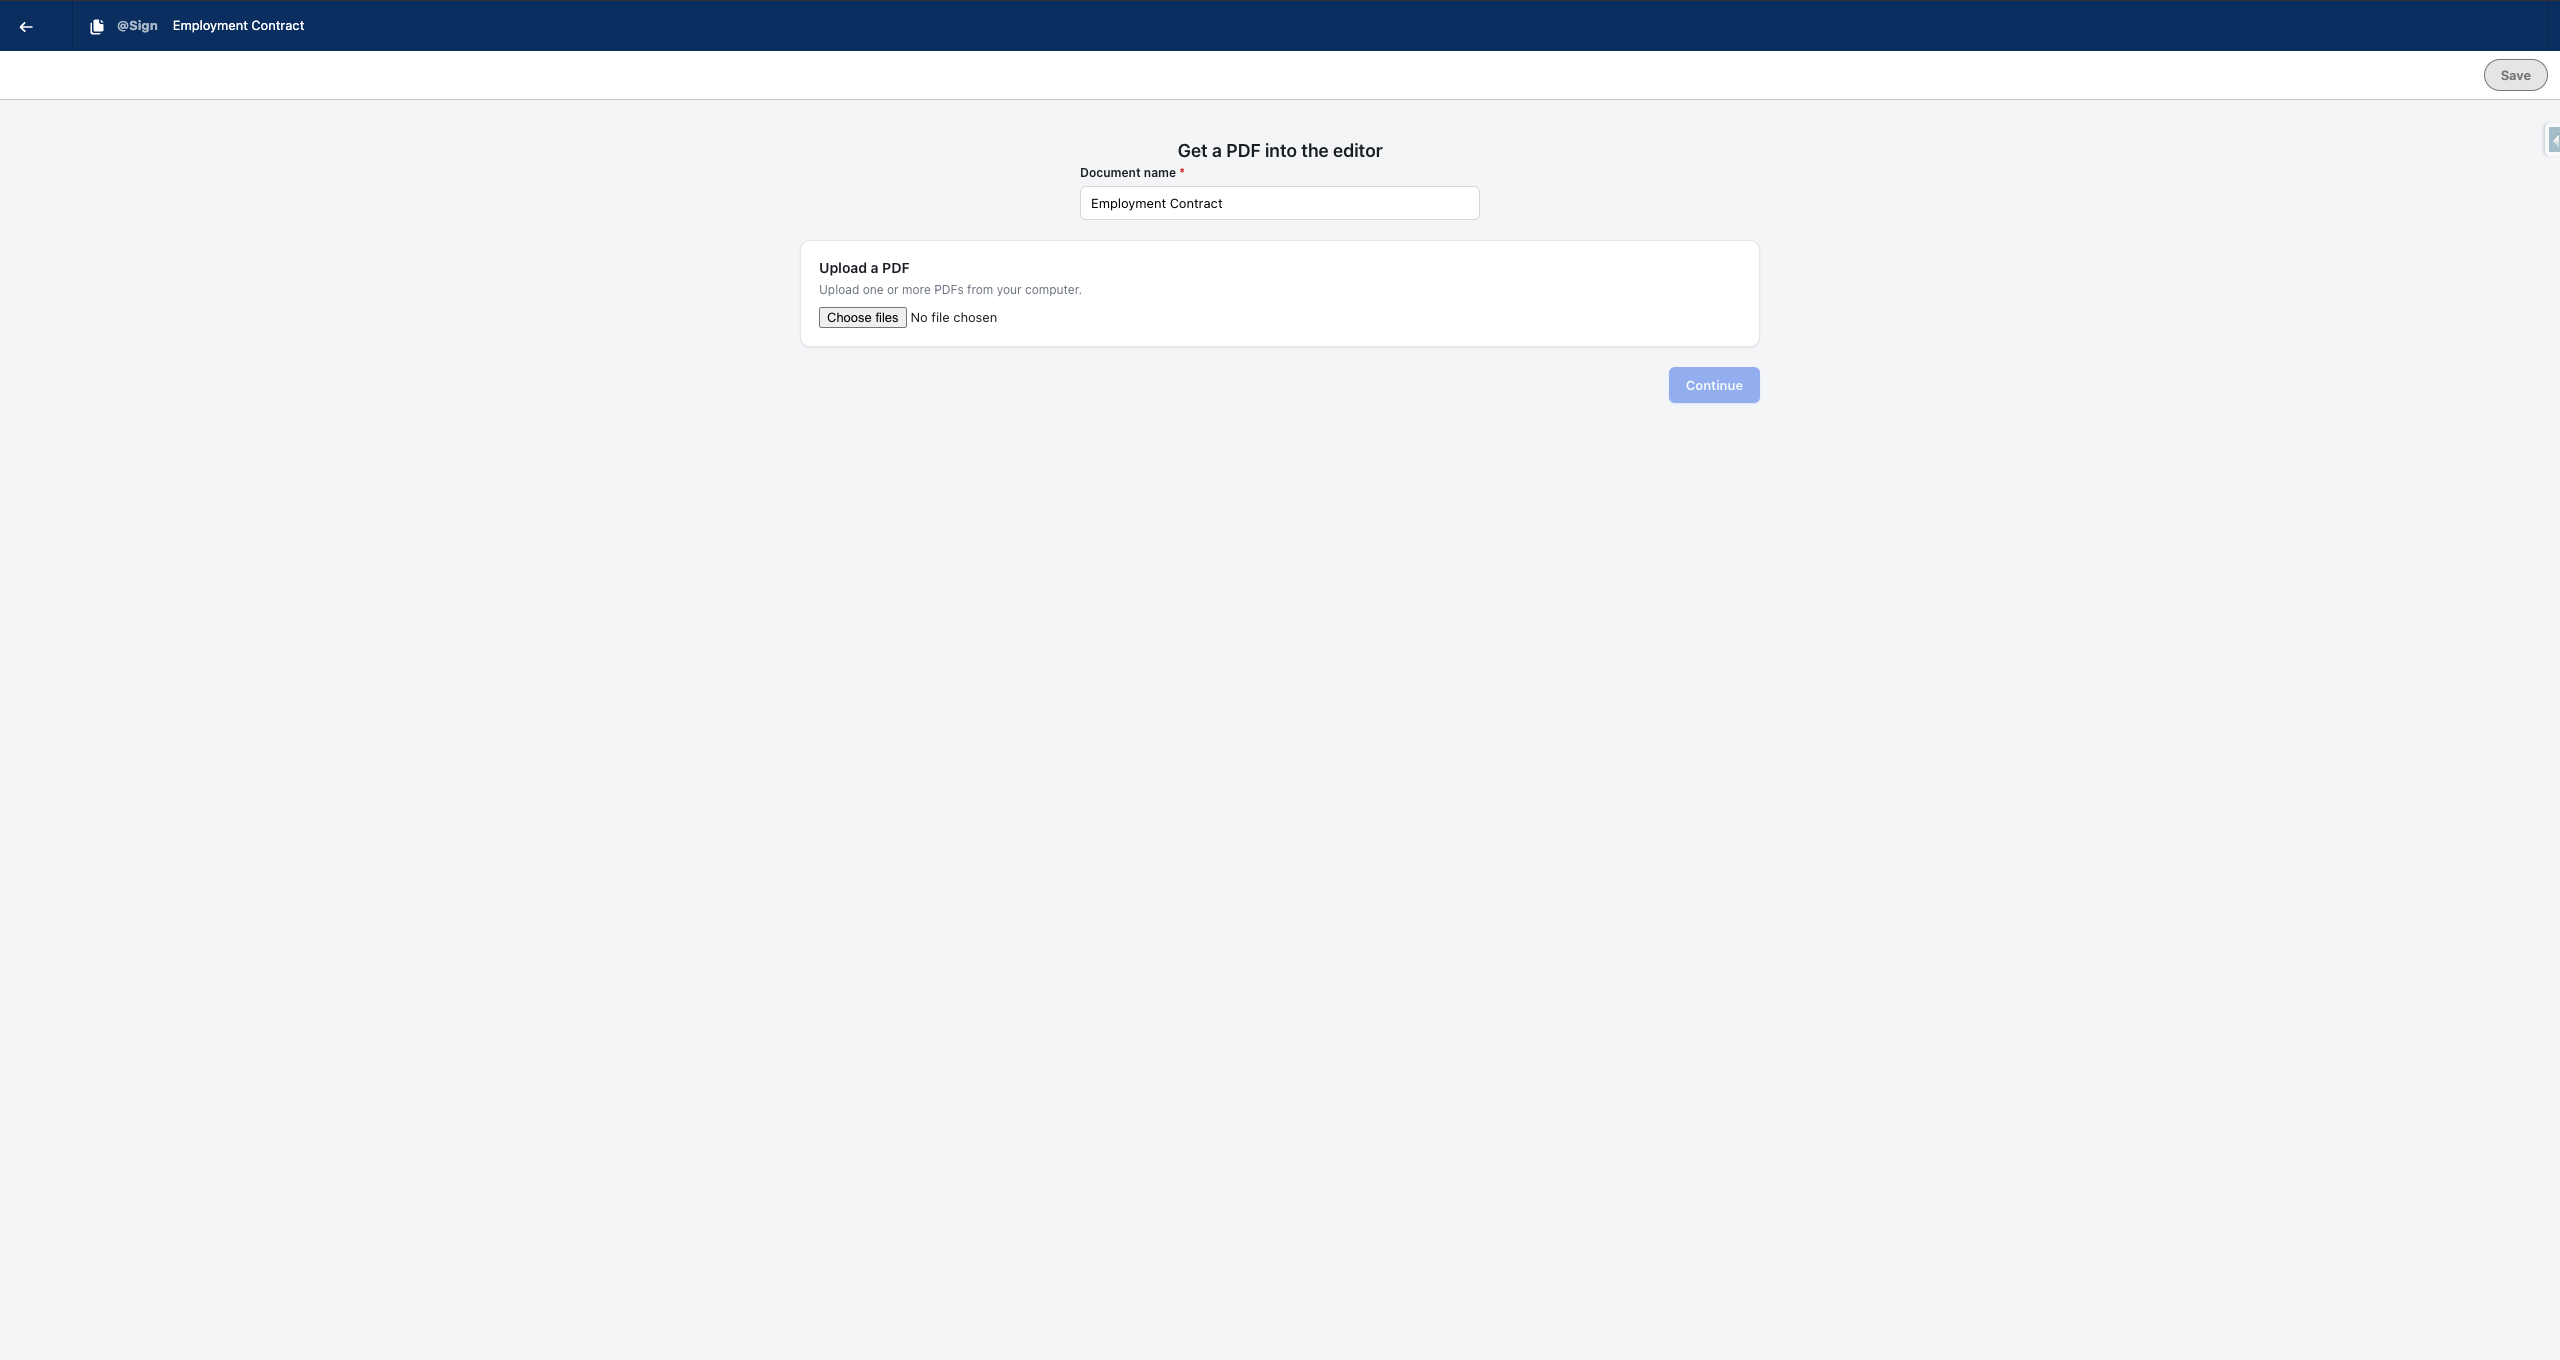
Drag to pan
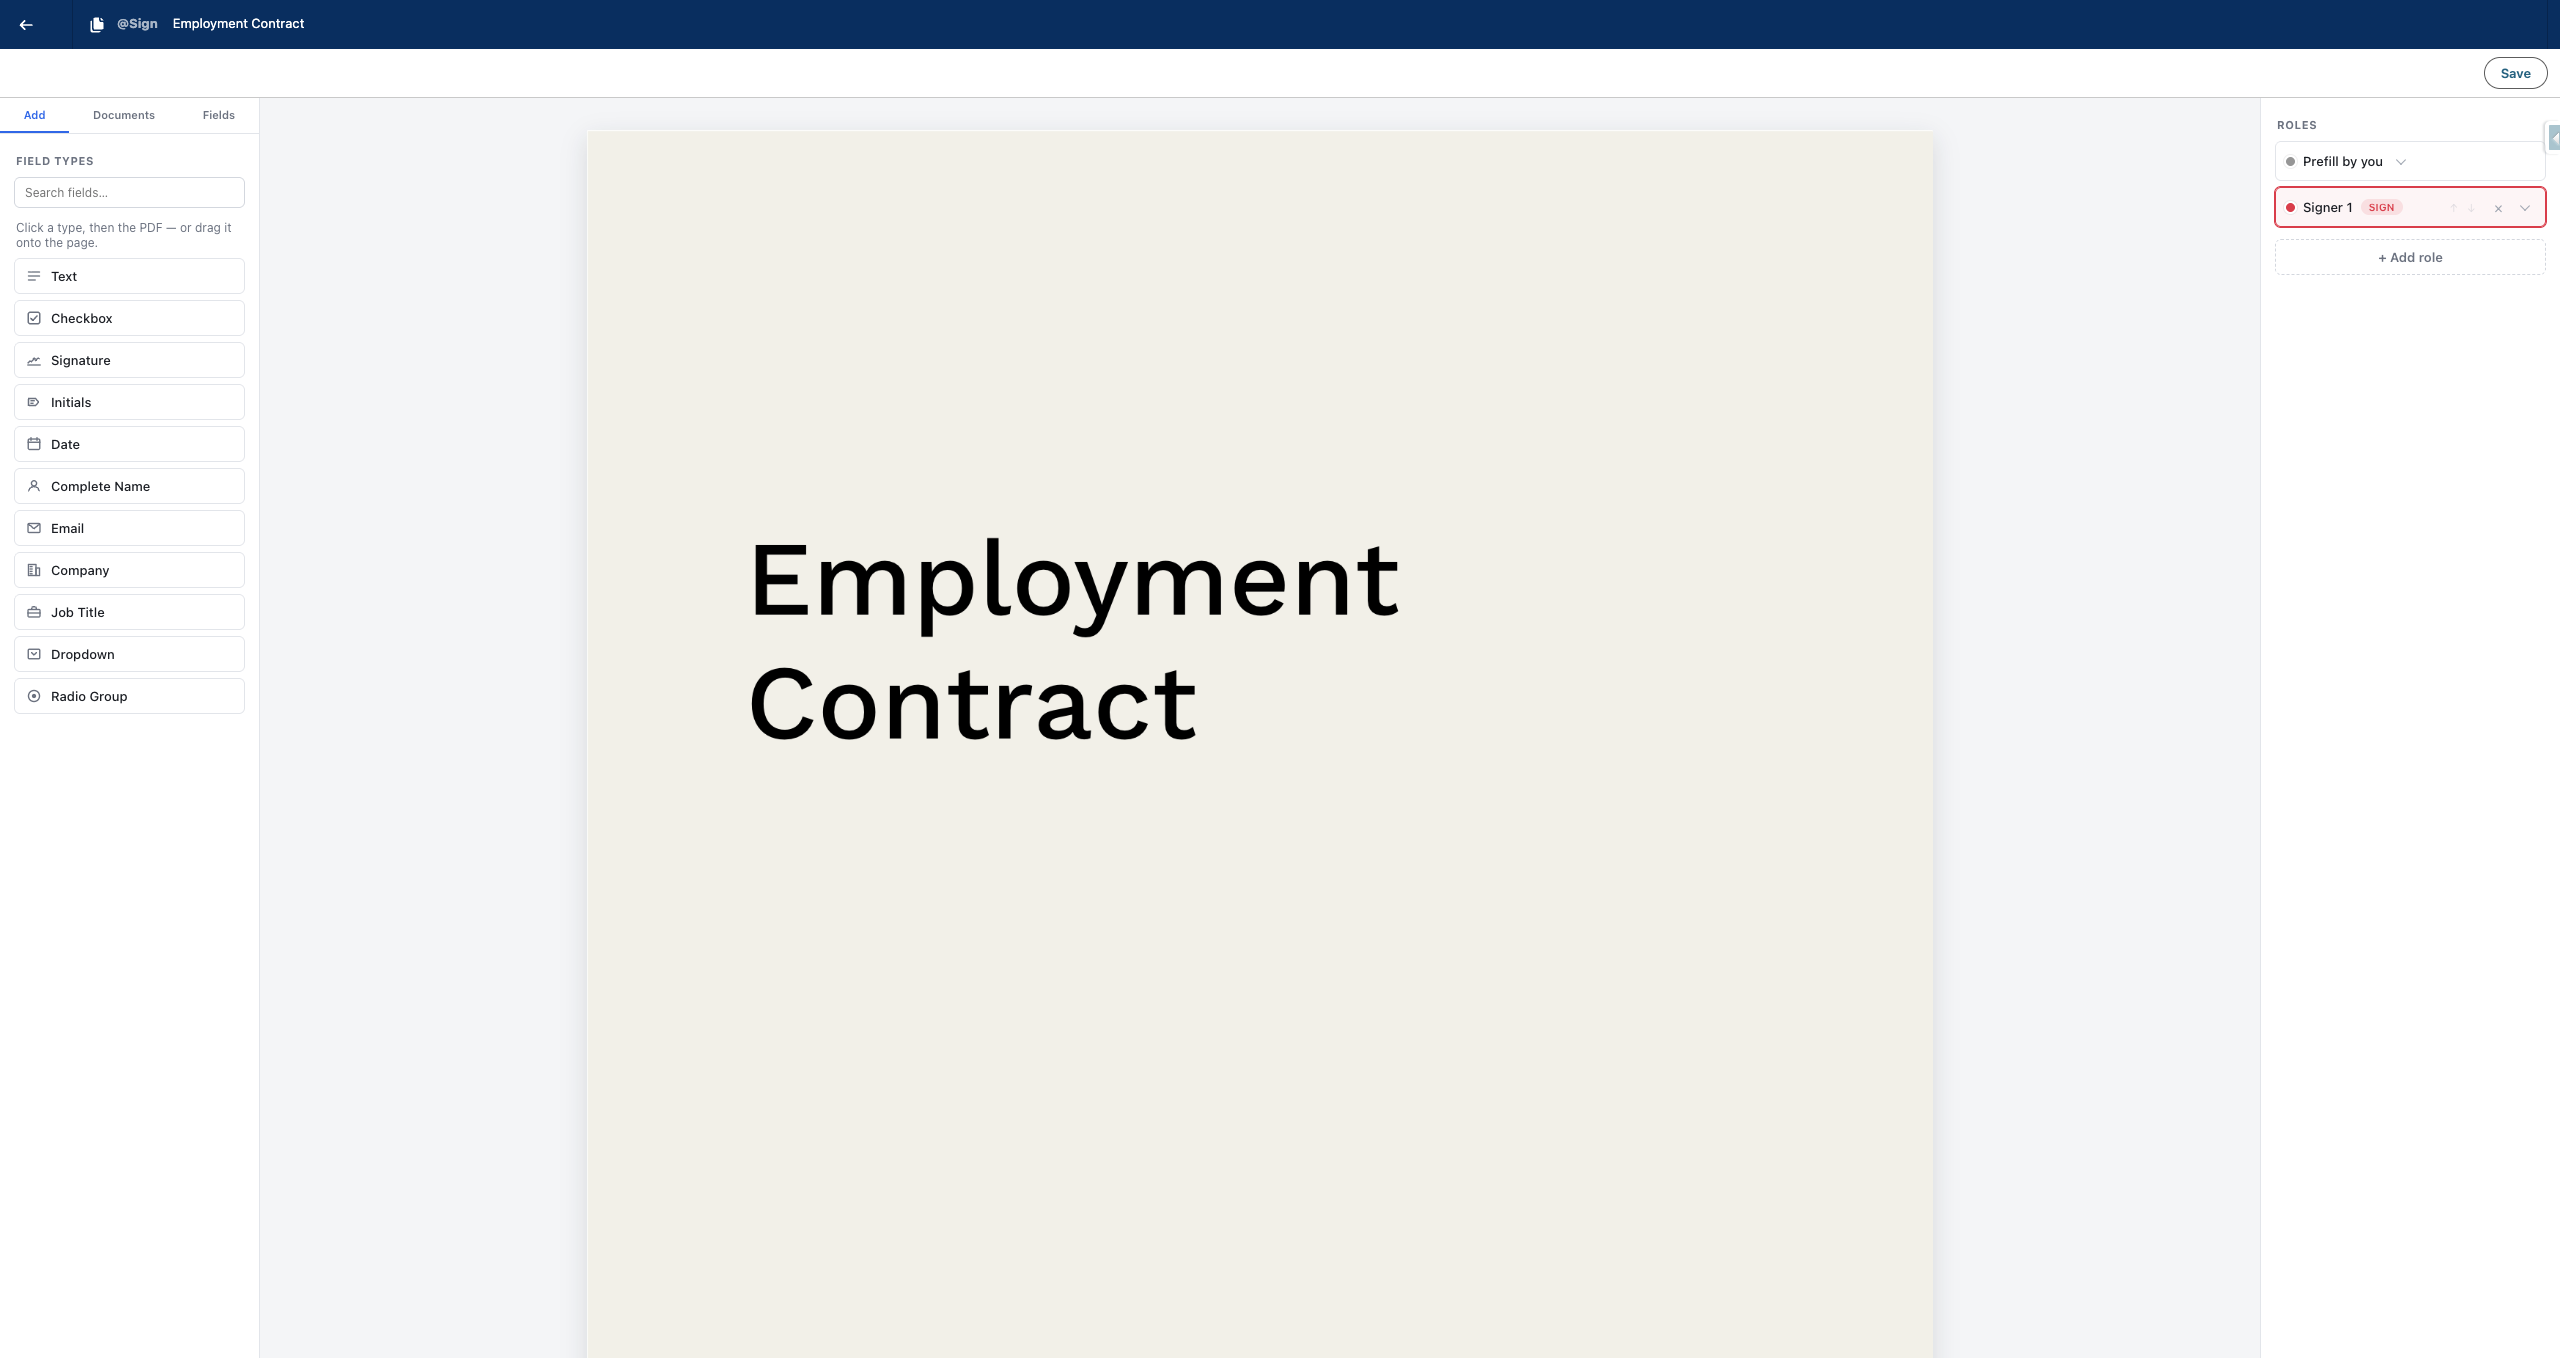
Select a role in the sidebar. Use the 'Add role' button to include additional signers or approvers.
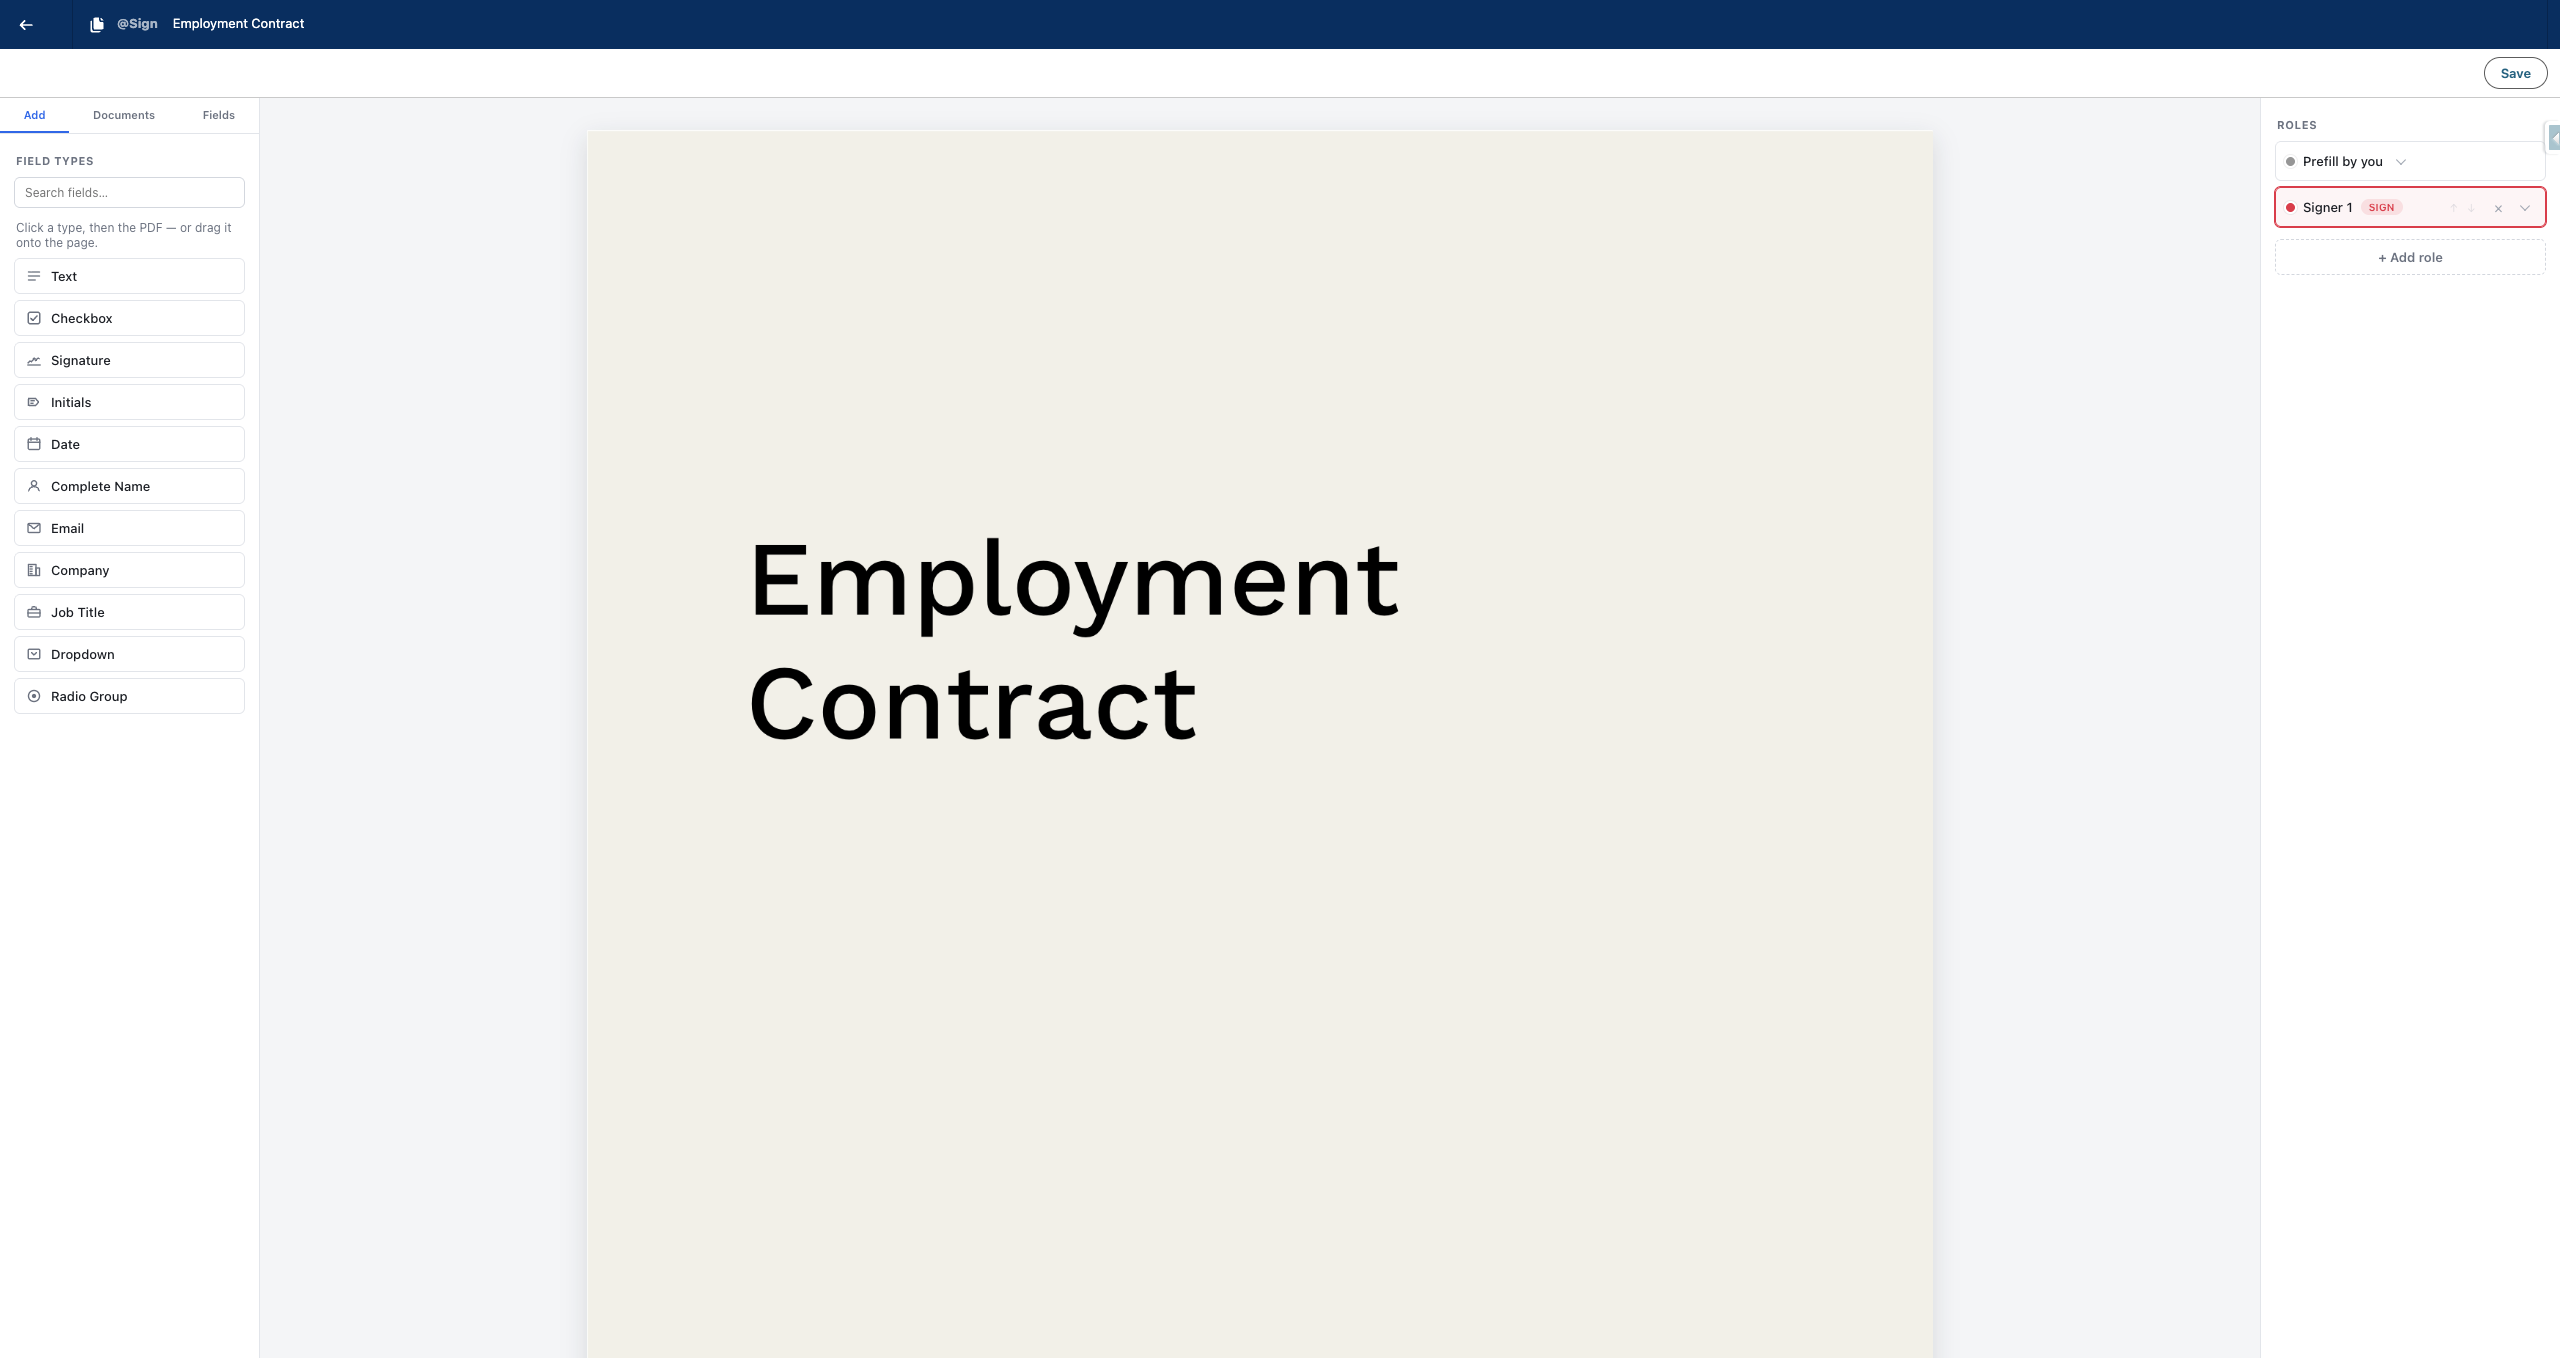
Drag to pan
Drag a text field from the sidebar onto the spot in the document where you want the content to appear.
Drag to pan
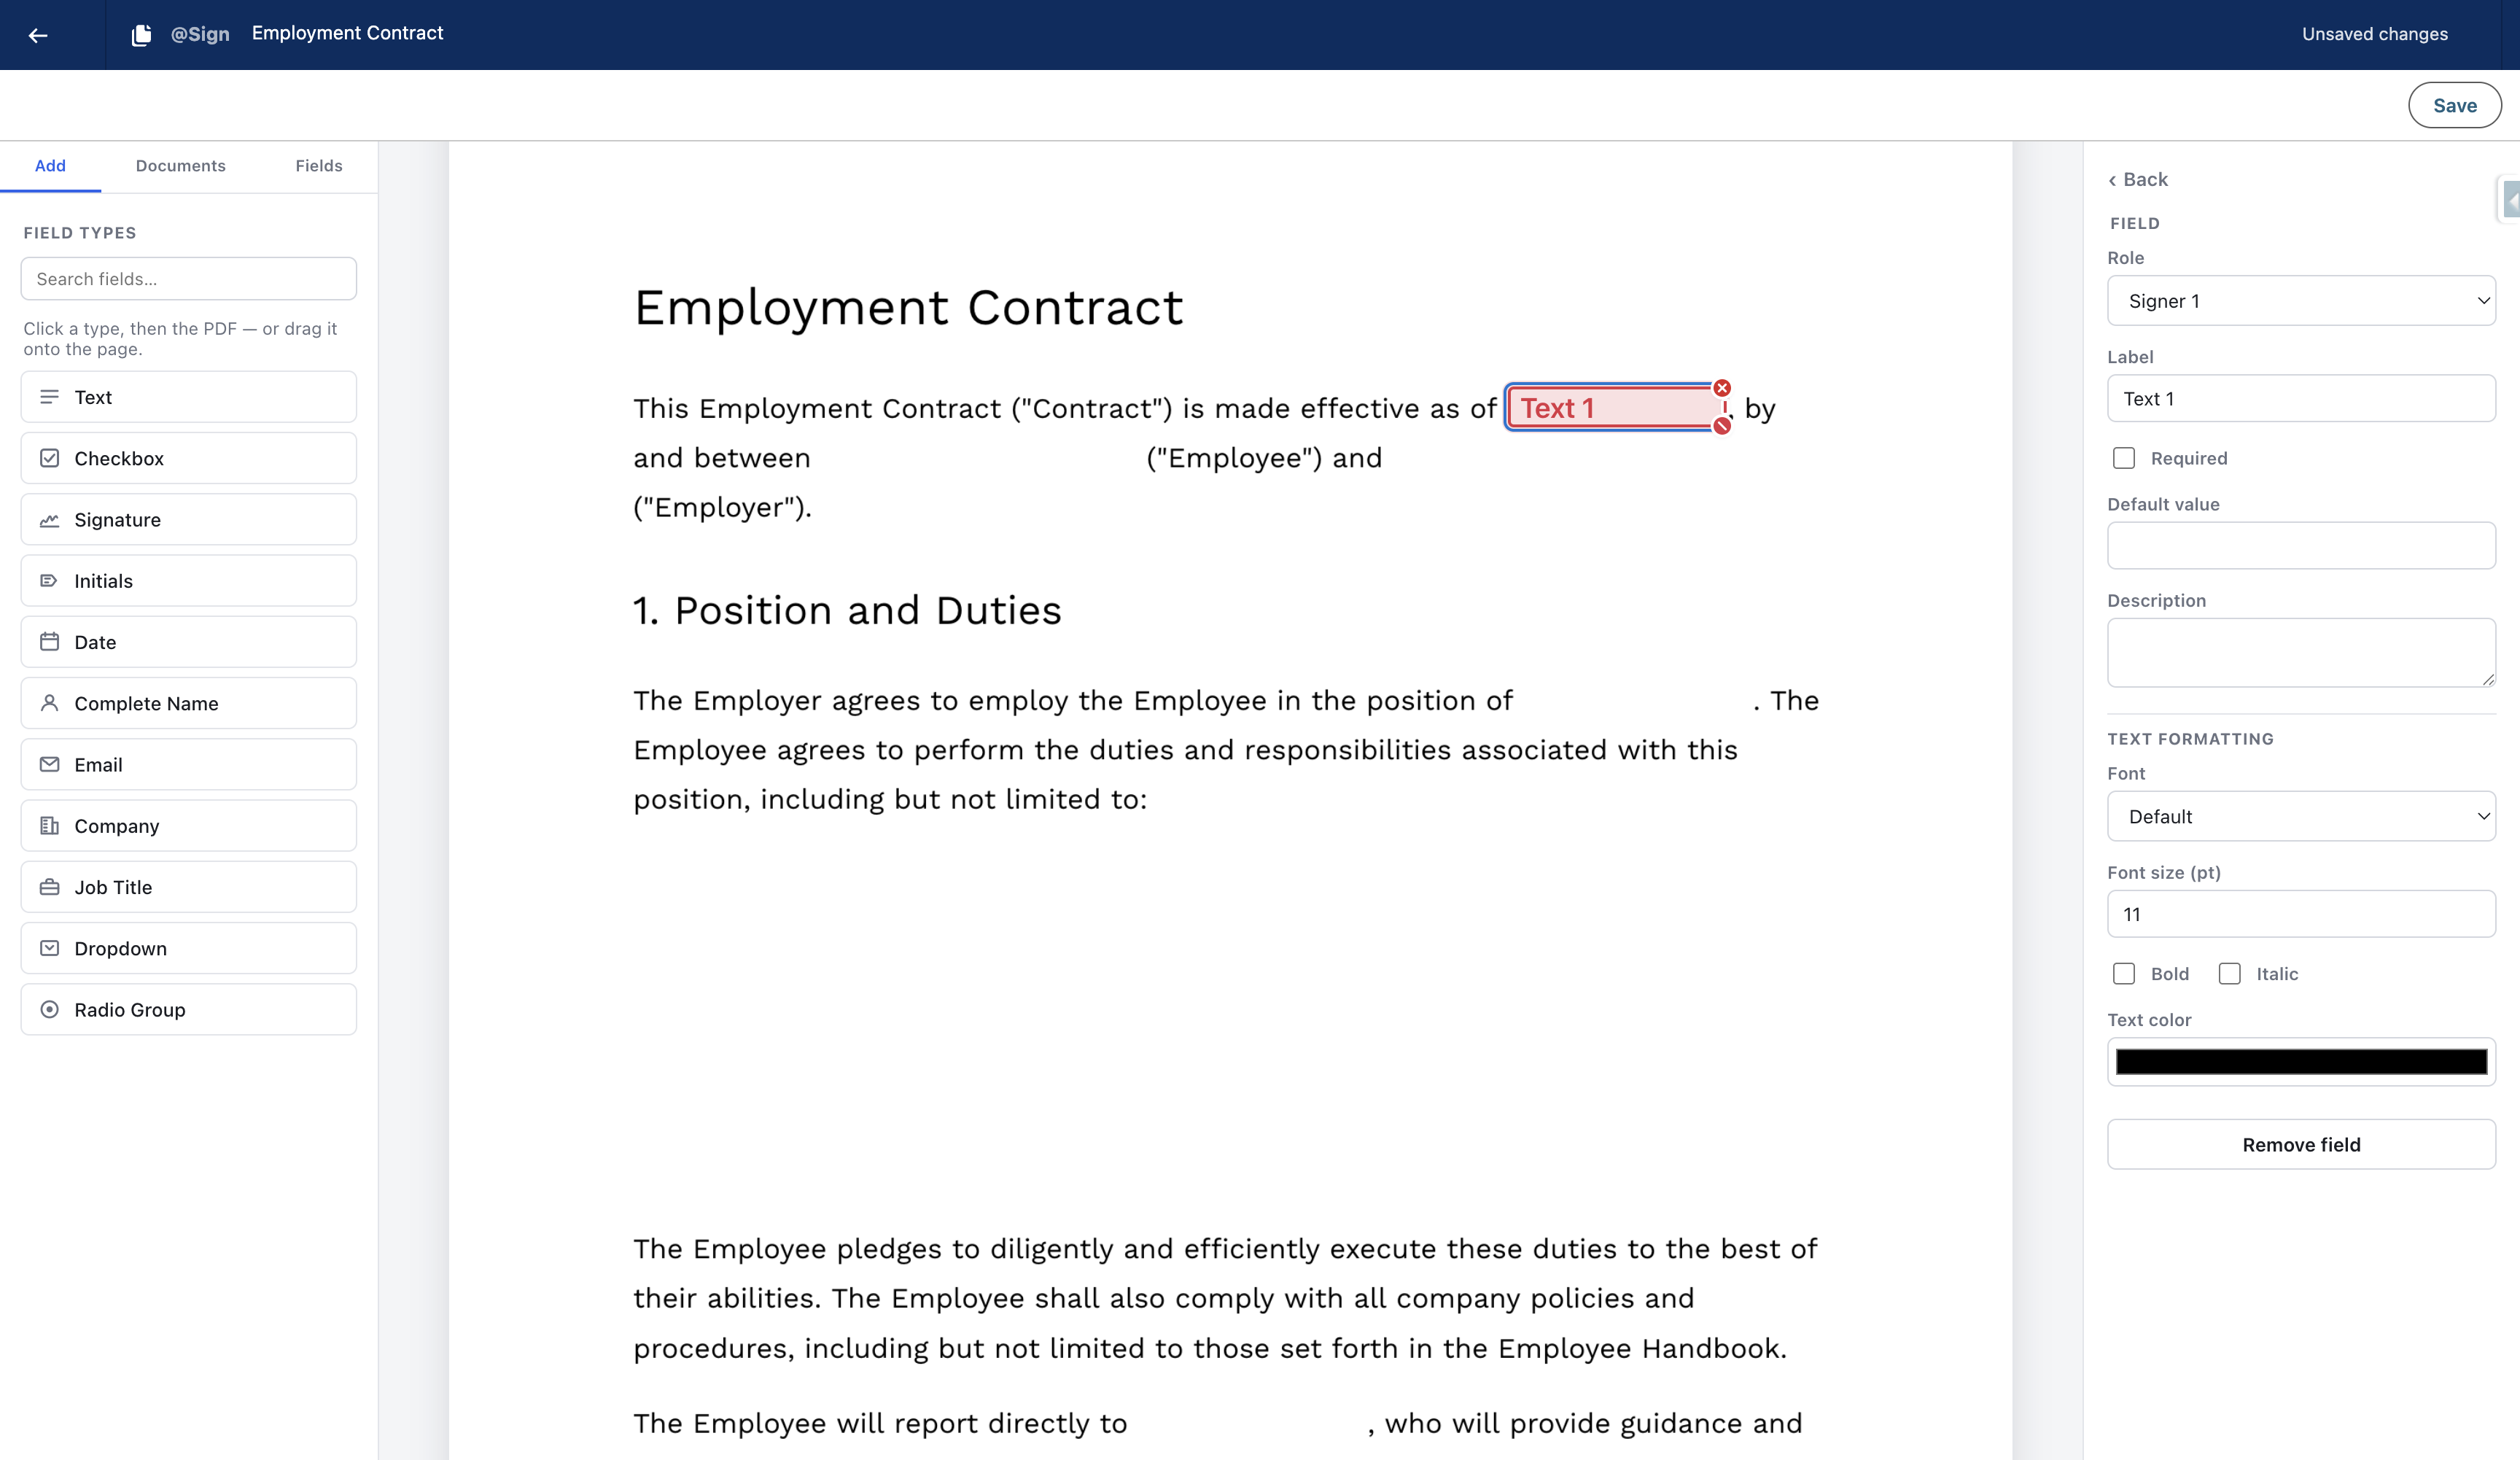
Click on any field to open the 'Field details' panel in the sidebar. Here you can set the field's name, label, and any other options relevant to that field.
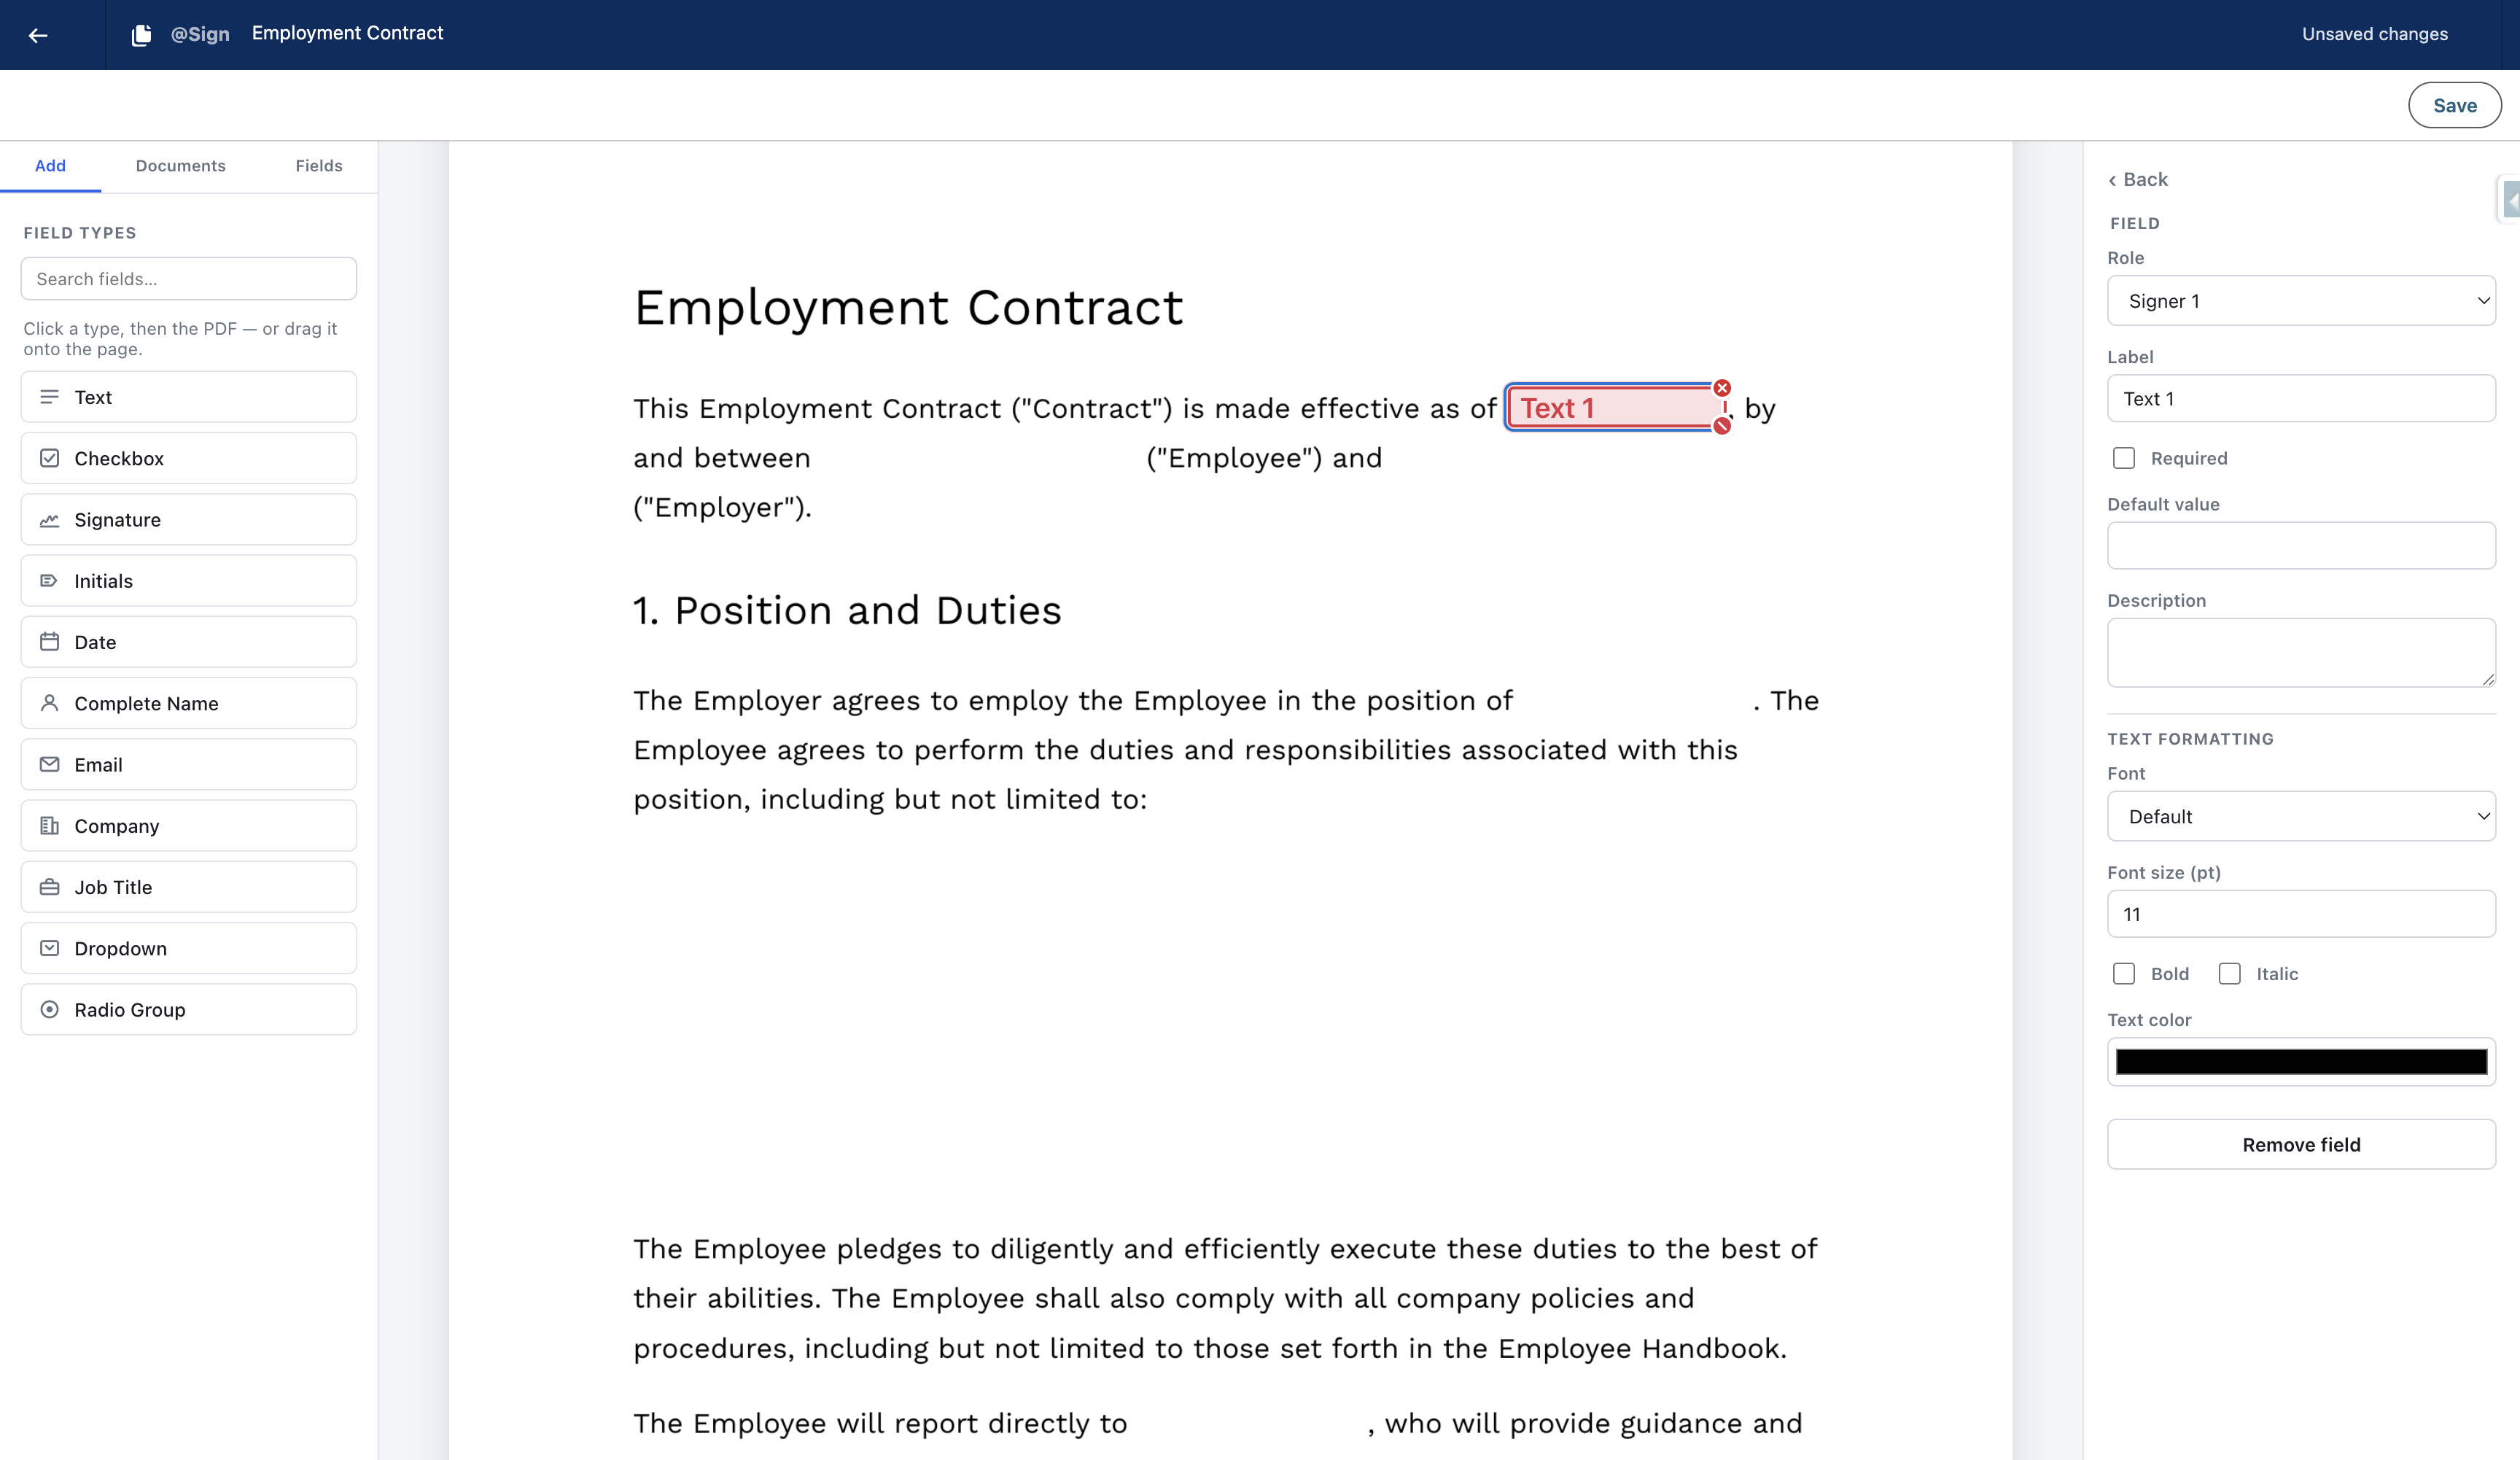
Drag the handle at the bottom-right corner of a field to resize it horizontally or vertically until it fits perfectly.
Drag to pan
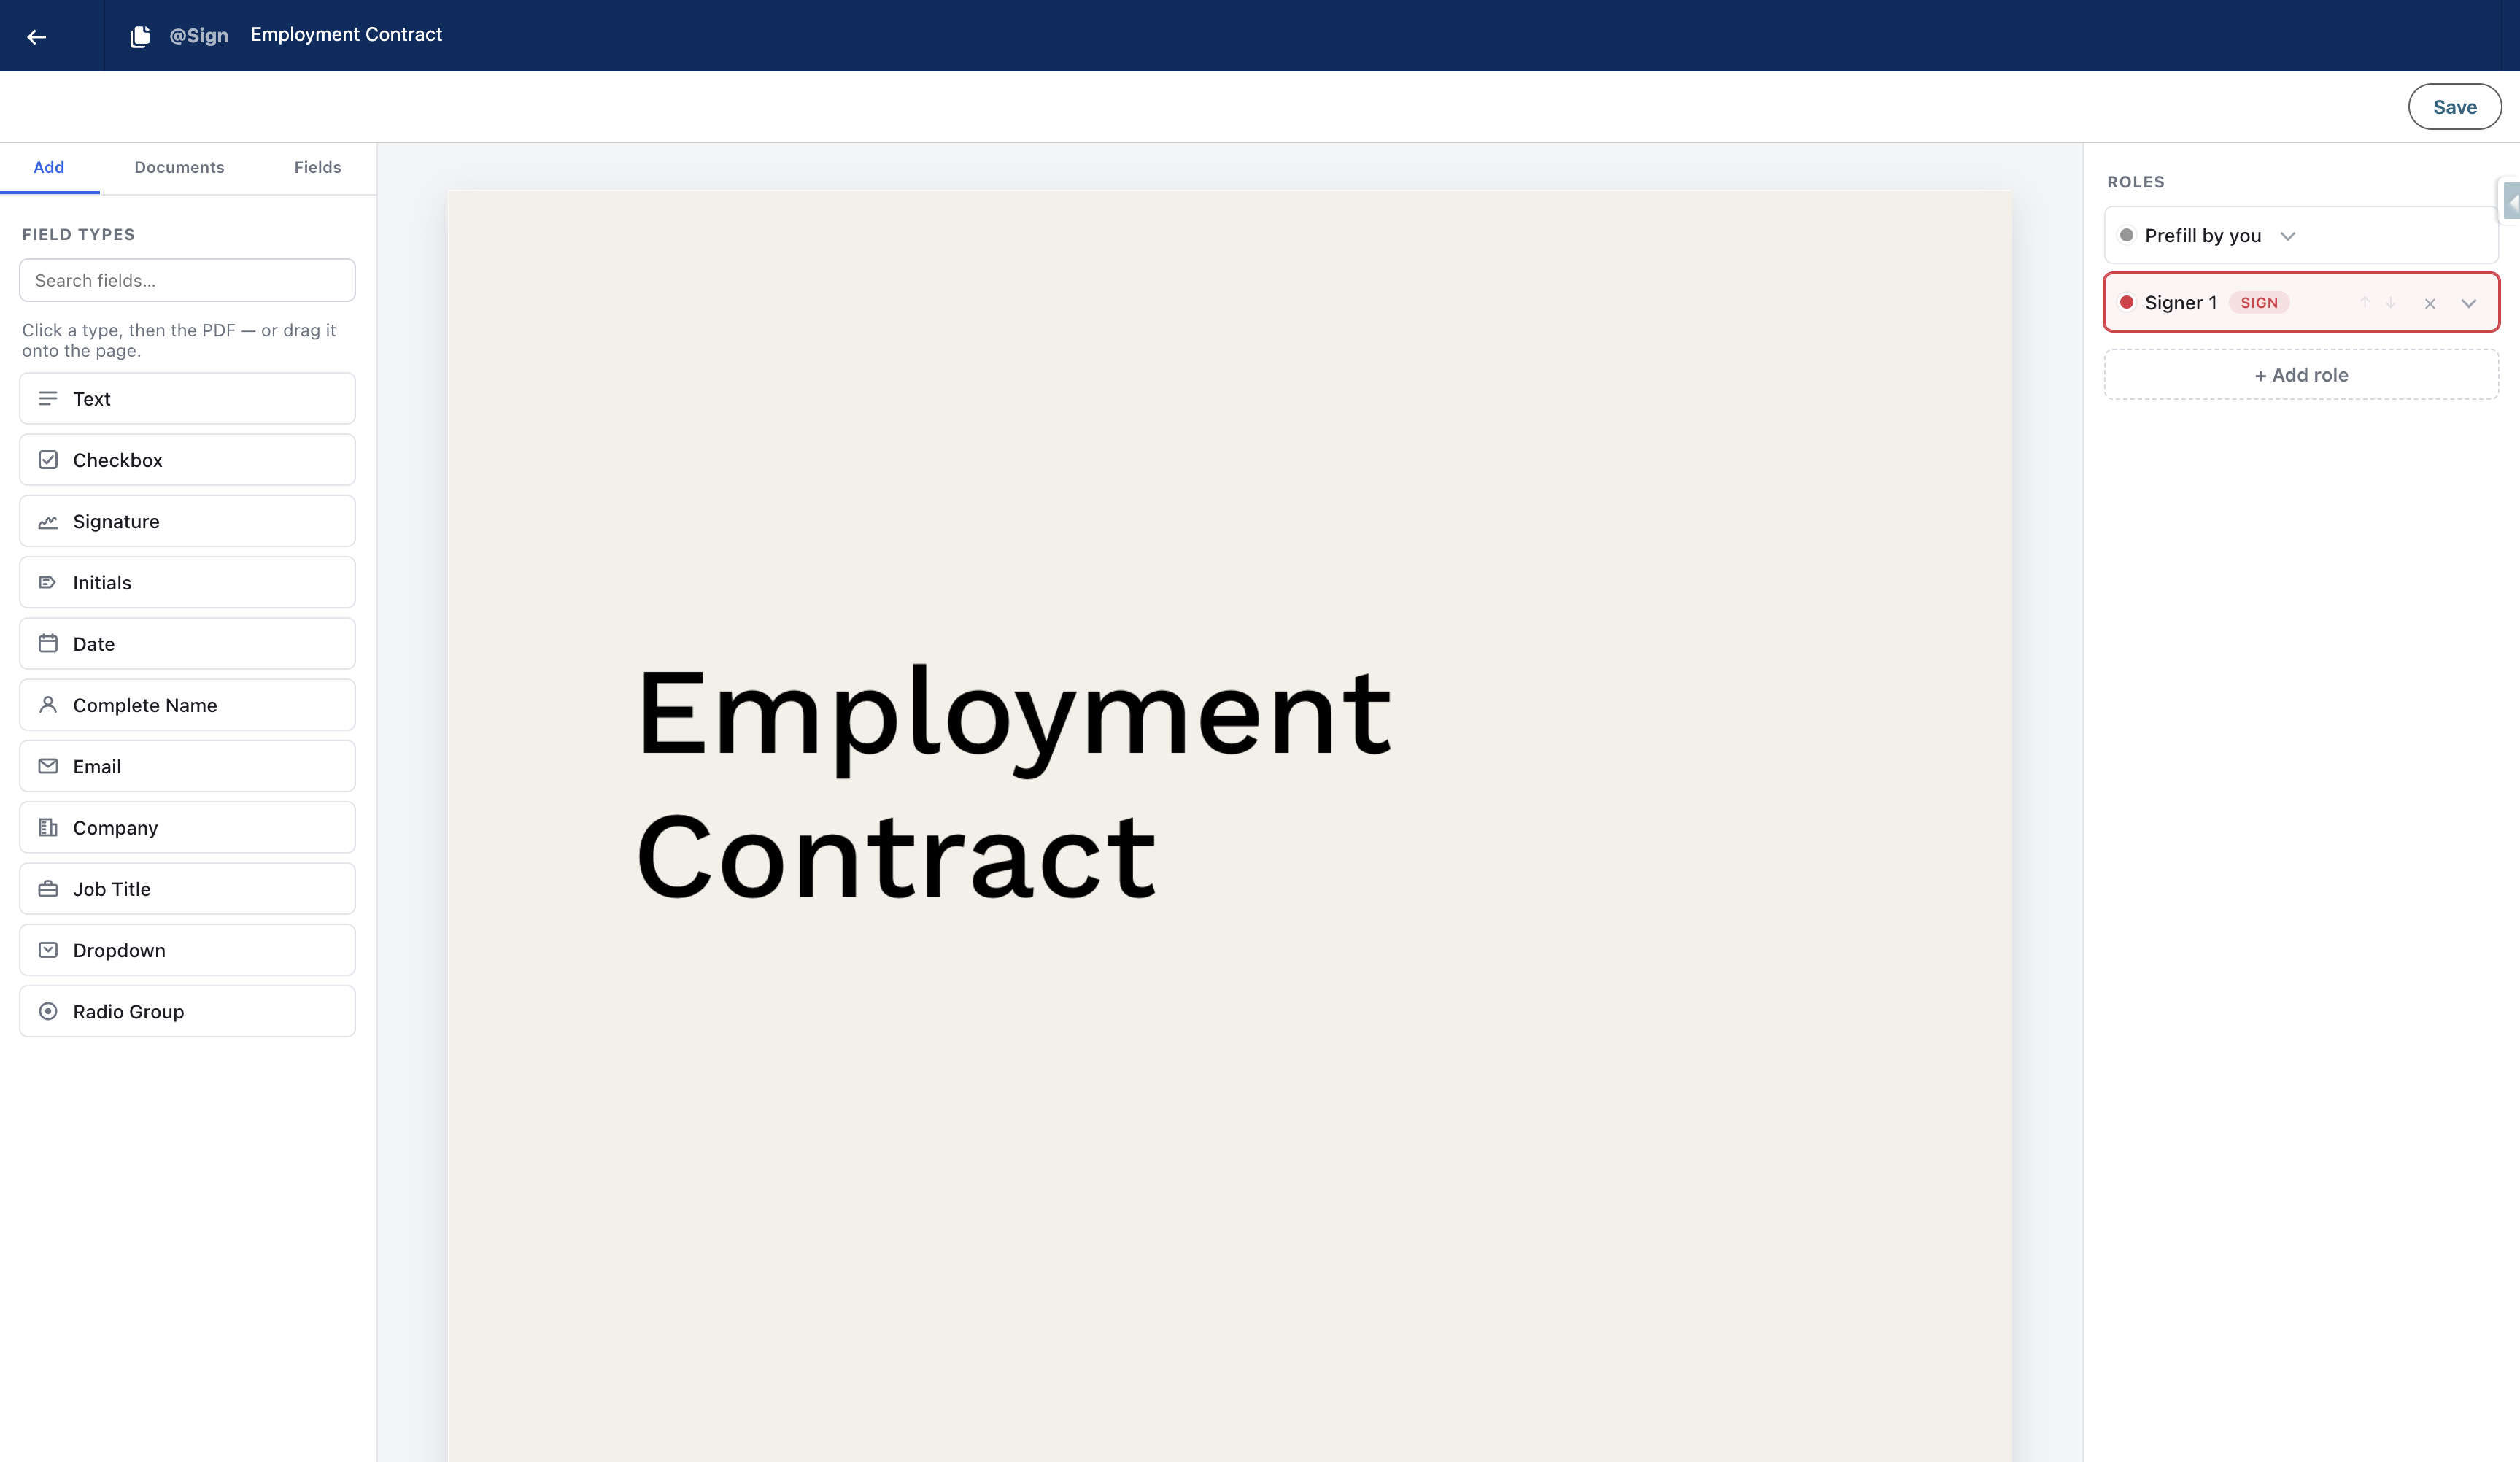
Fields assigned to 'Prefill by you' must be filled in before sending the contract. Fields assigned to other roles are completed/filled by those recipients. Click 'Add role' to create your first signer role.
Drag to pan
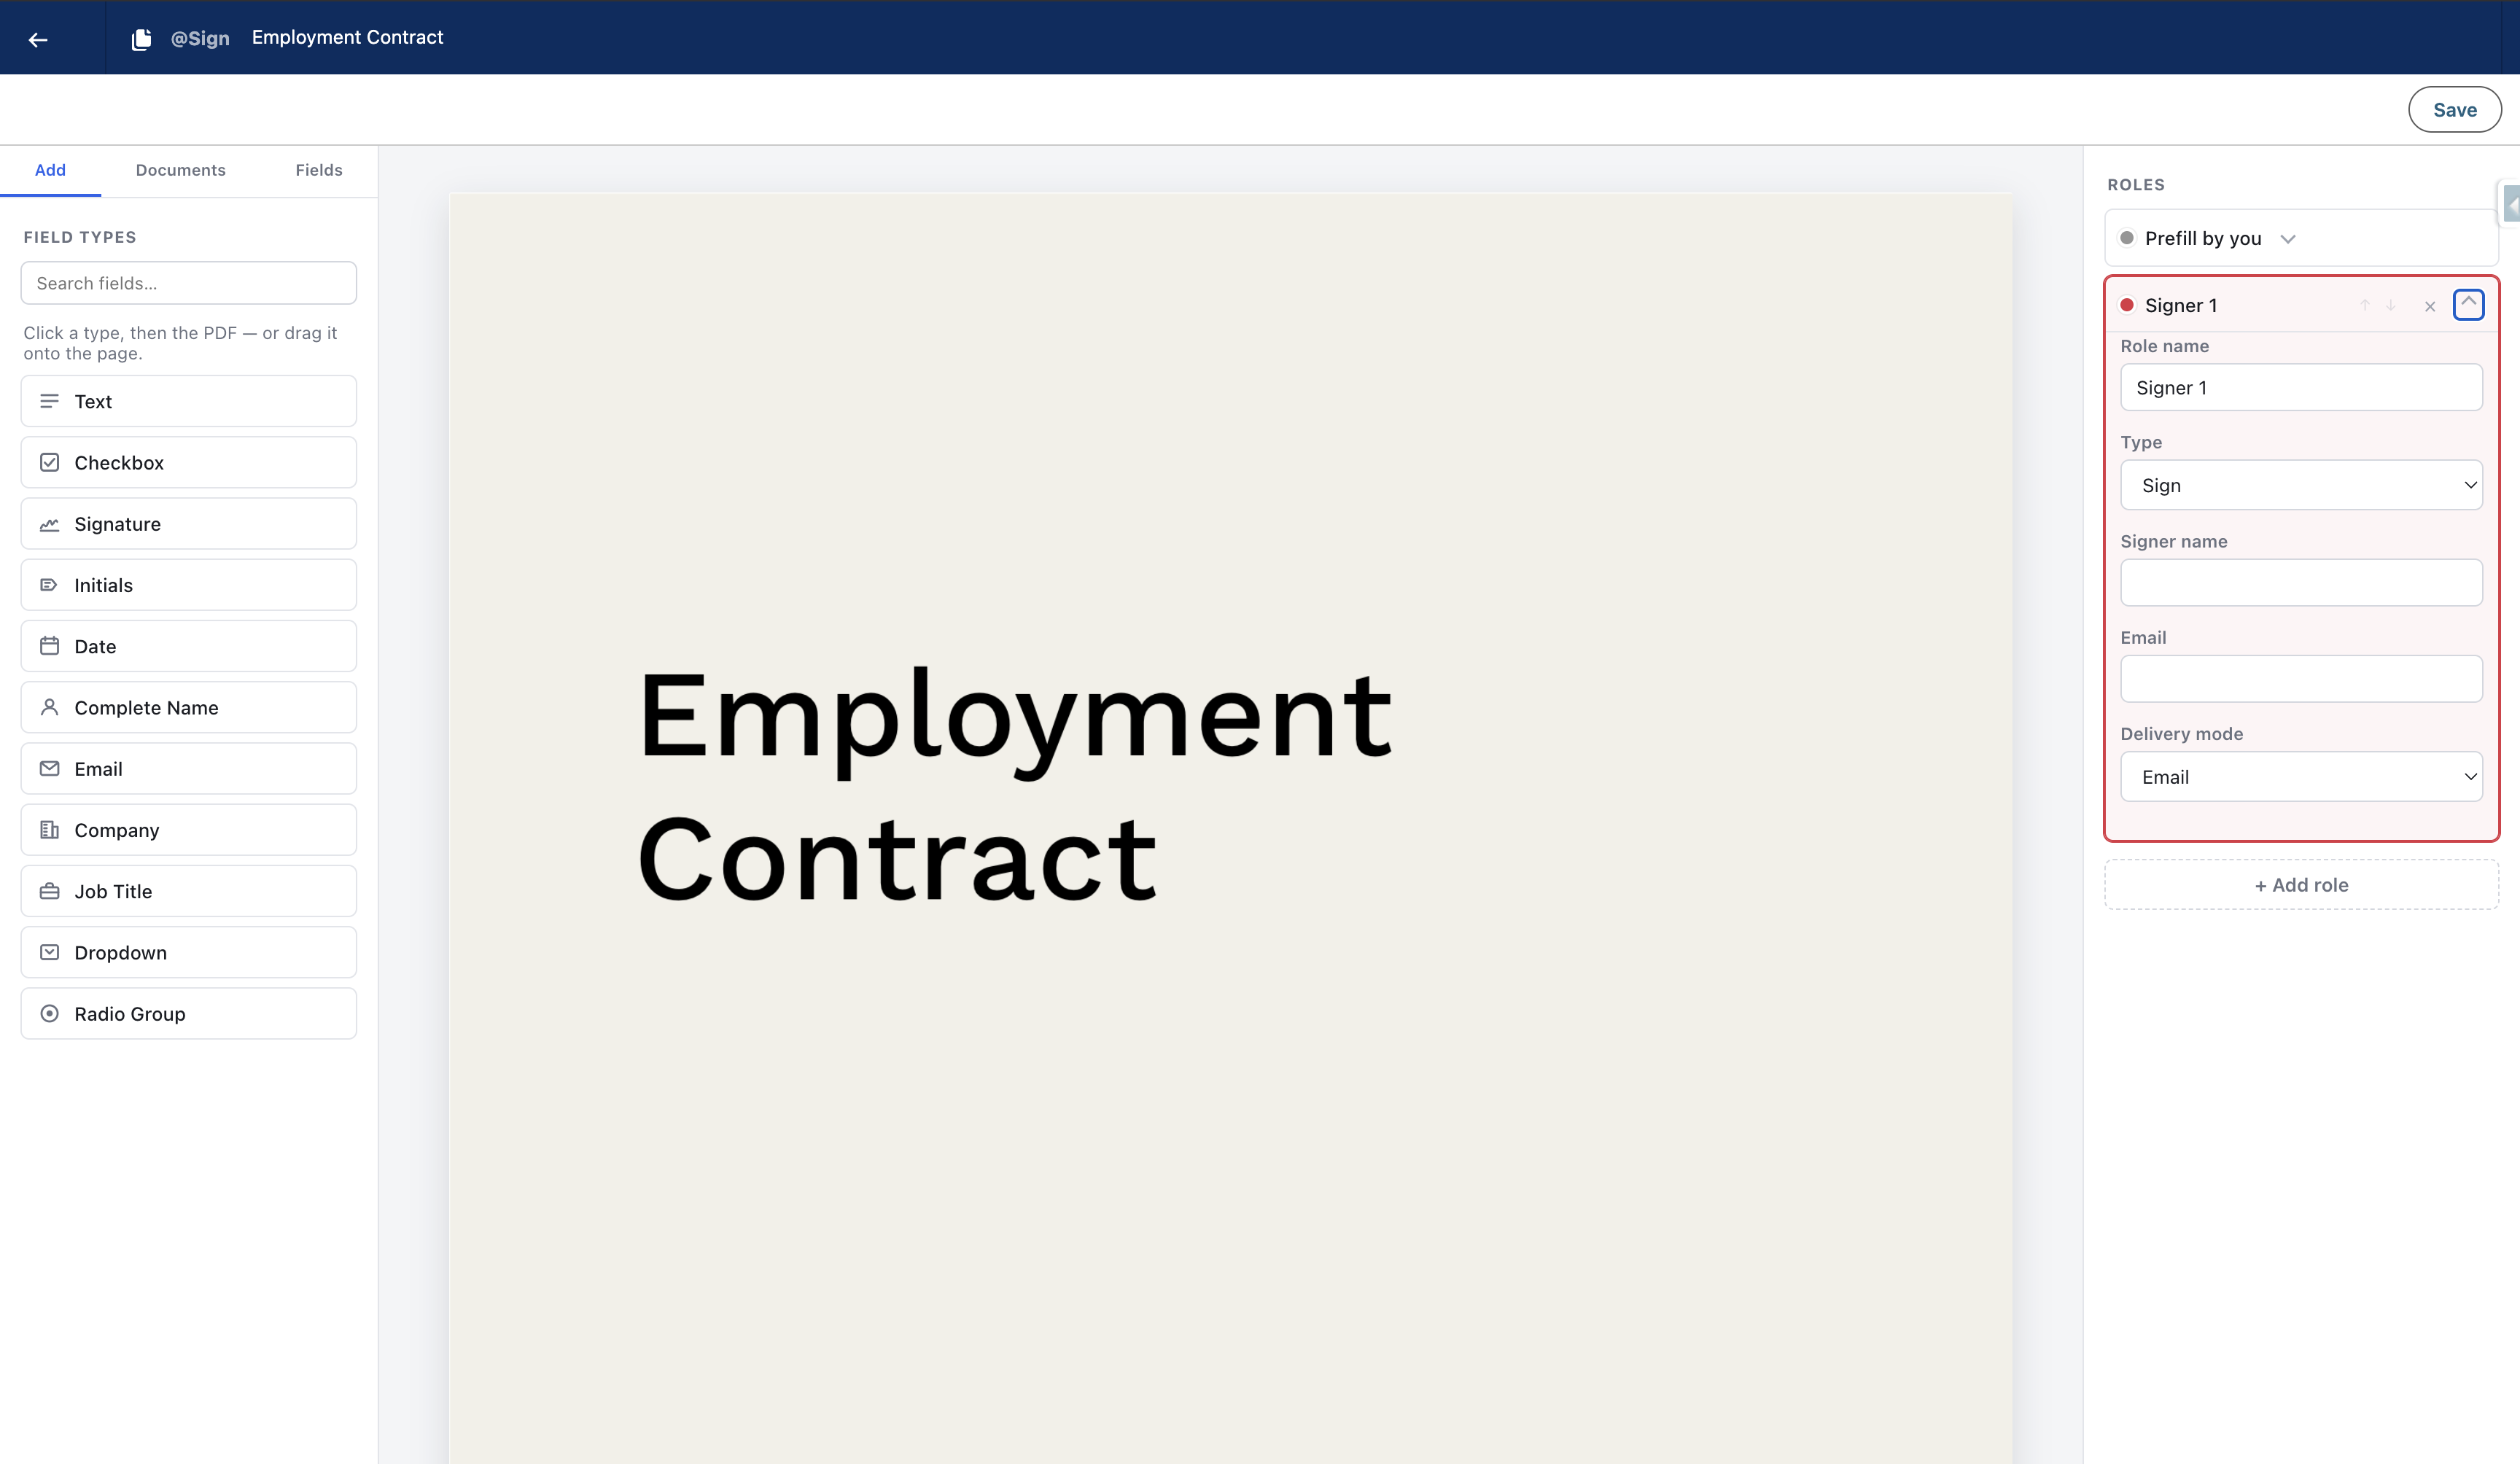
Fill in the role name (for internal reference), and optionally set a default name and email for this person. Choose what action this role must perform: sign, approve, view, and so on.
Drag to pan
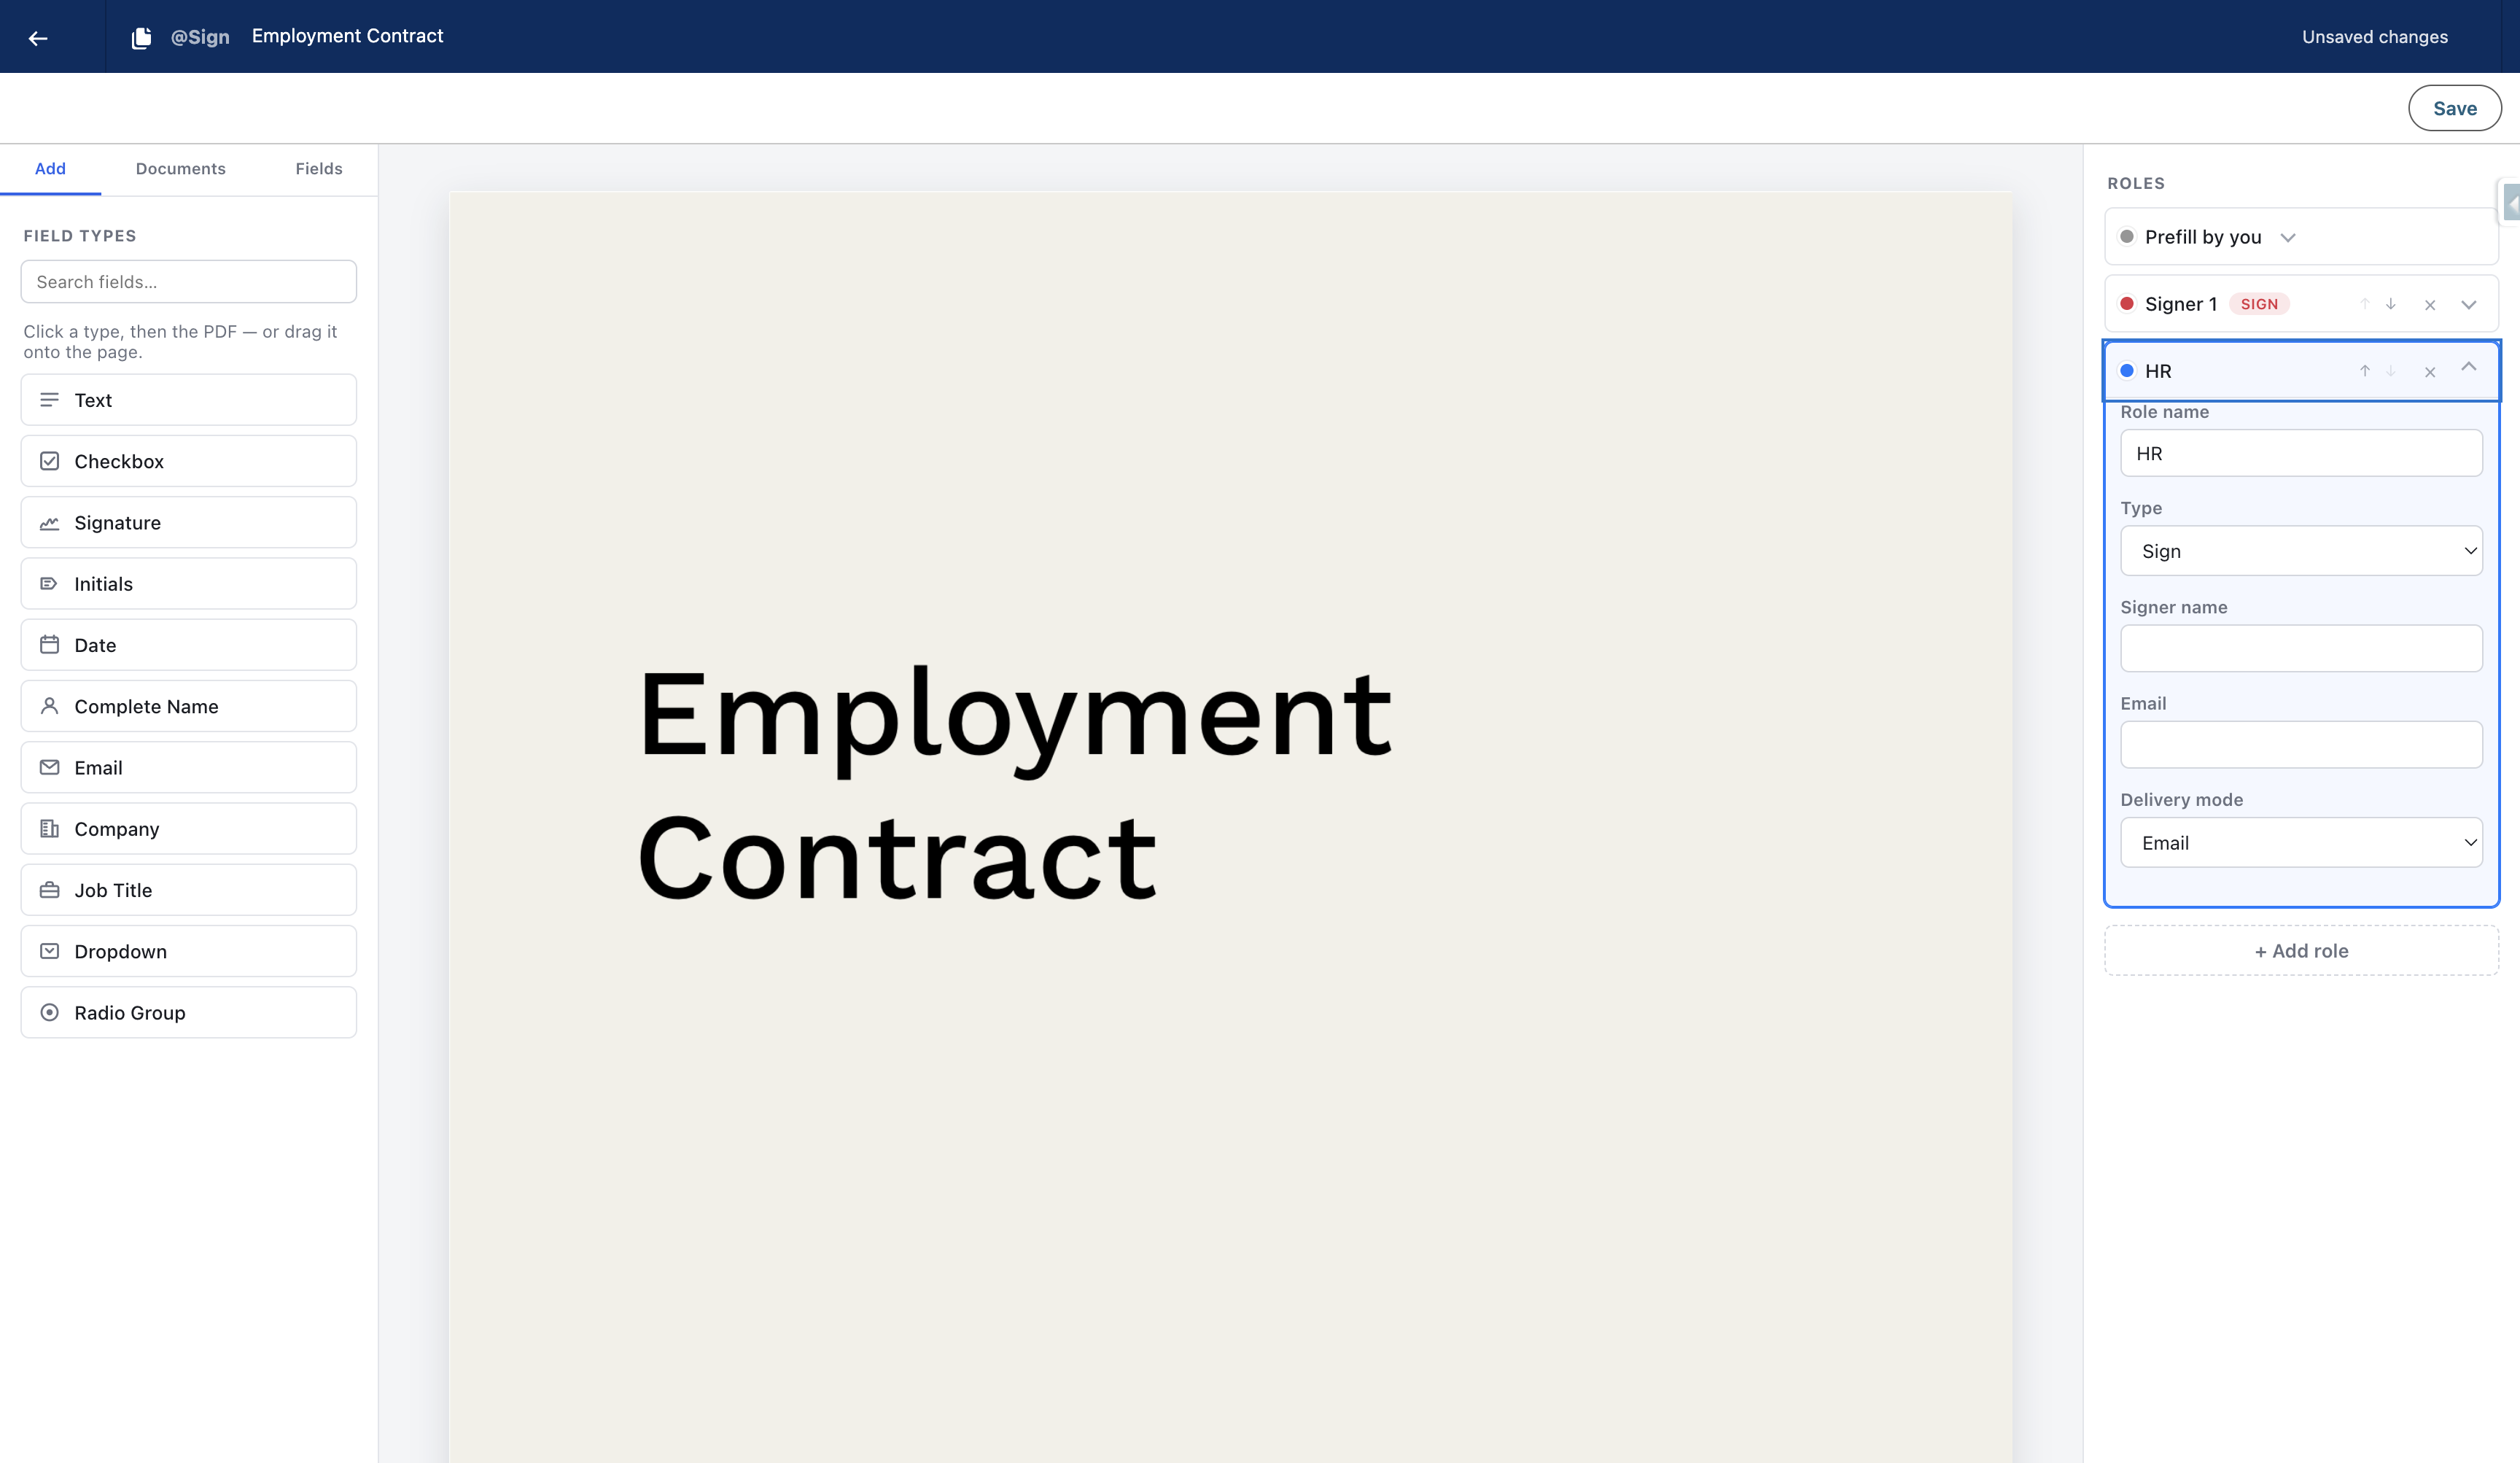
Repeat the process to add more roles. For example, create an 'HR' role if a second person also needs to sign the document.
Drag to pan
Each role gets its own colour, so fields are easy to distinguish at a glance. Use the field overview at the bottom of the sidebar to navigate quickly between all fields in the document.
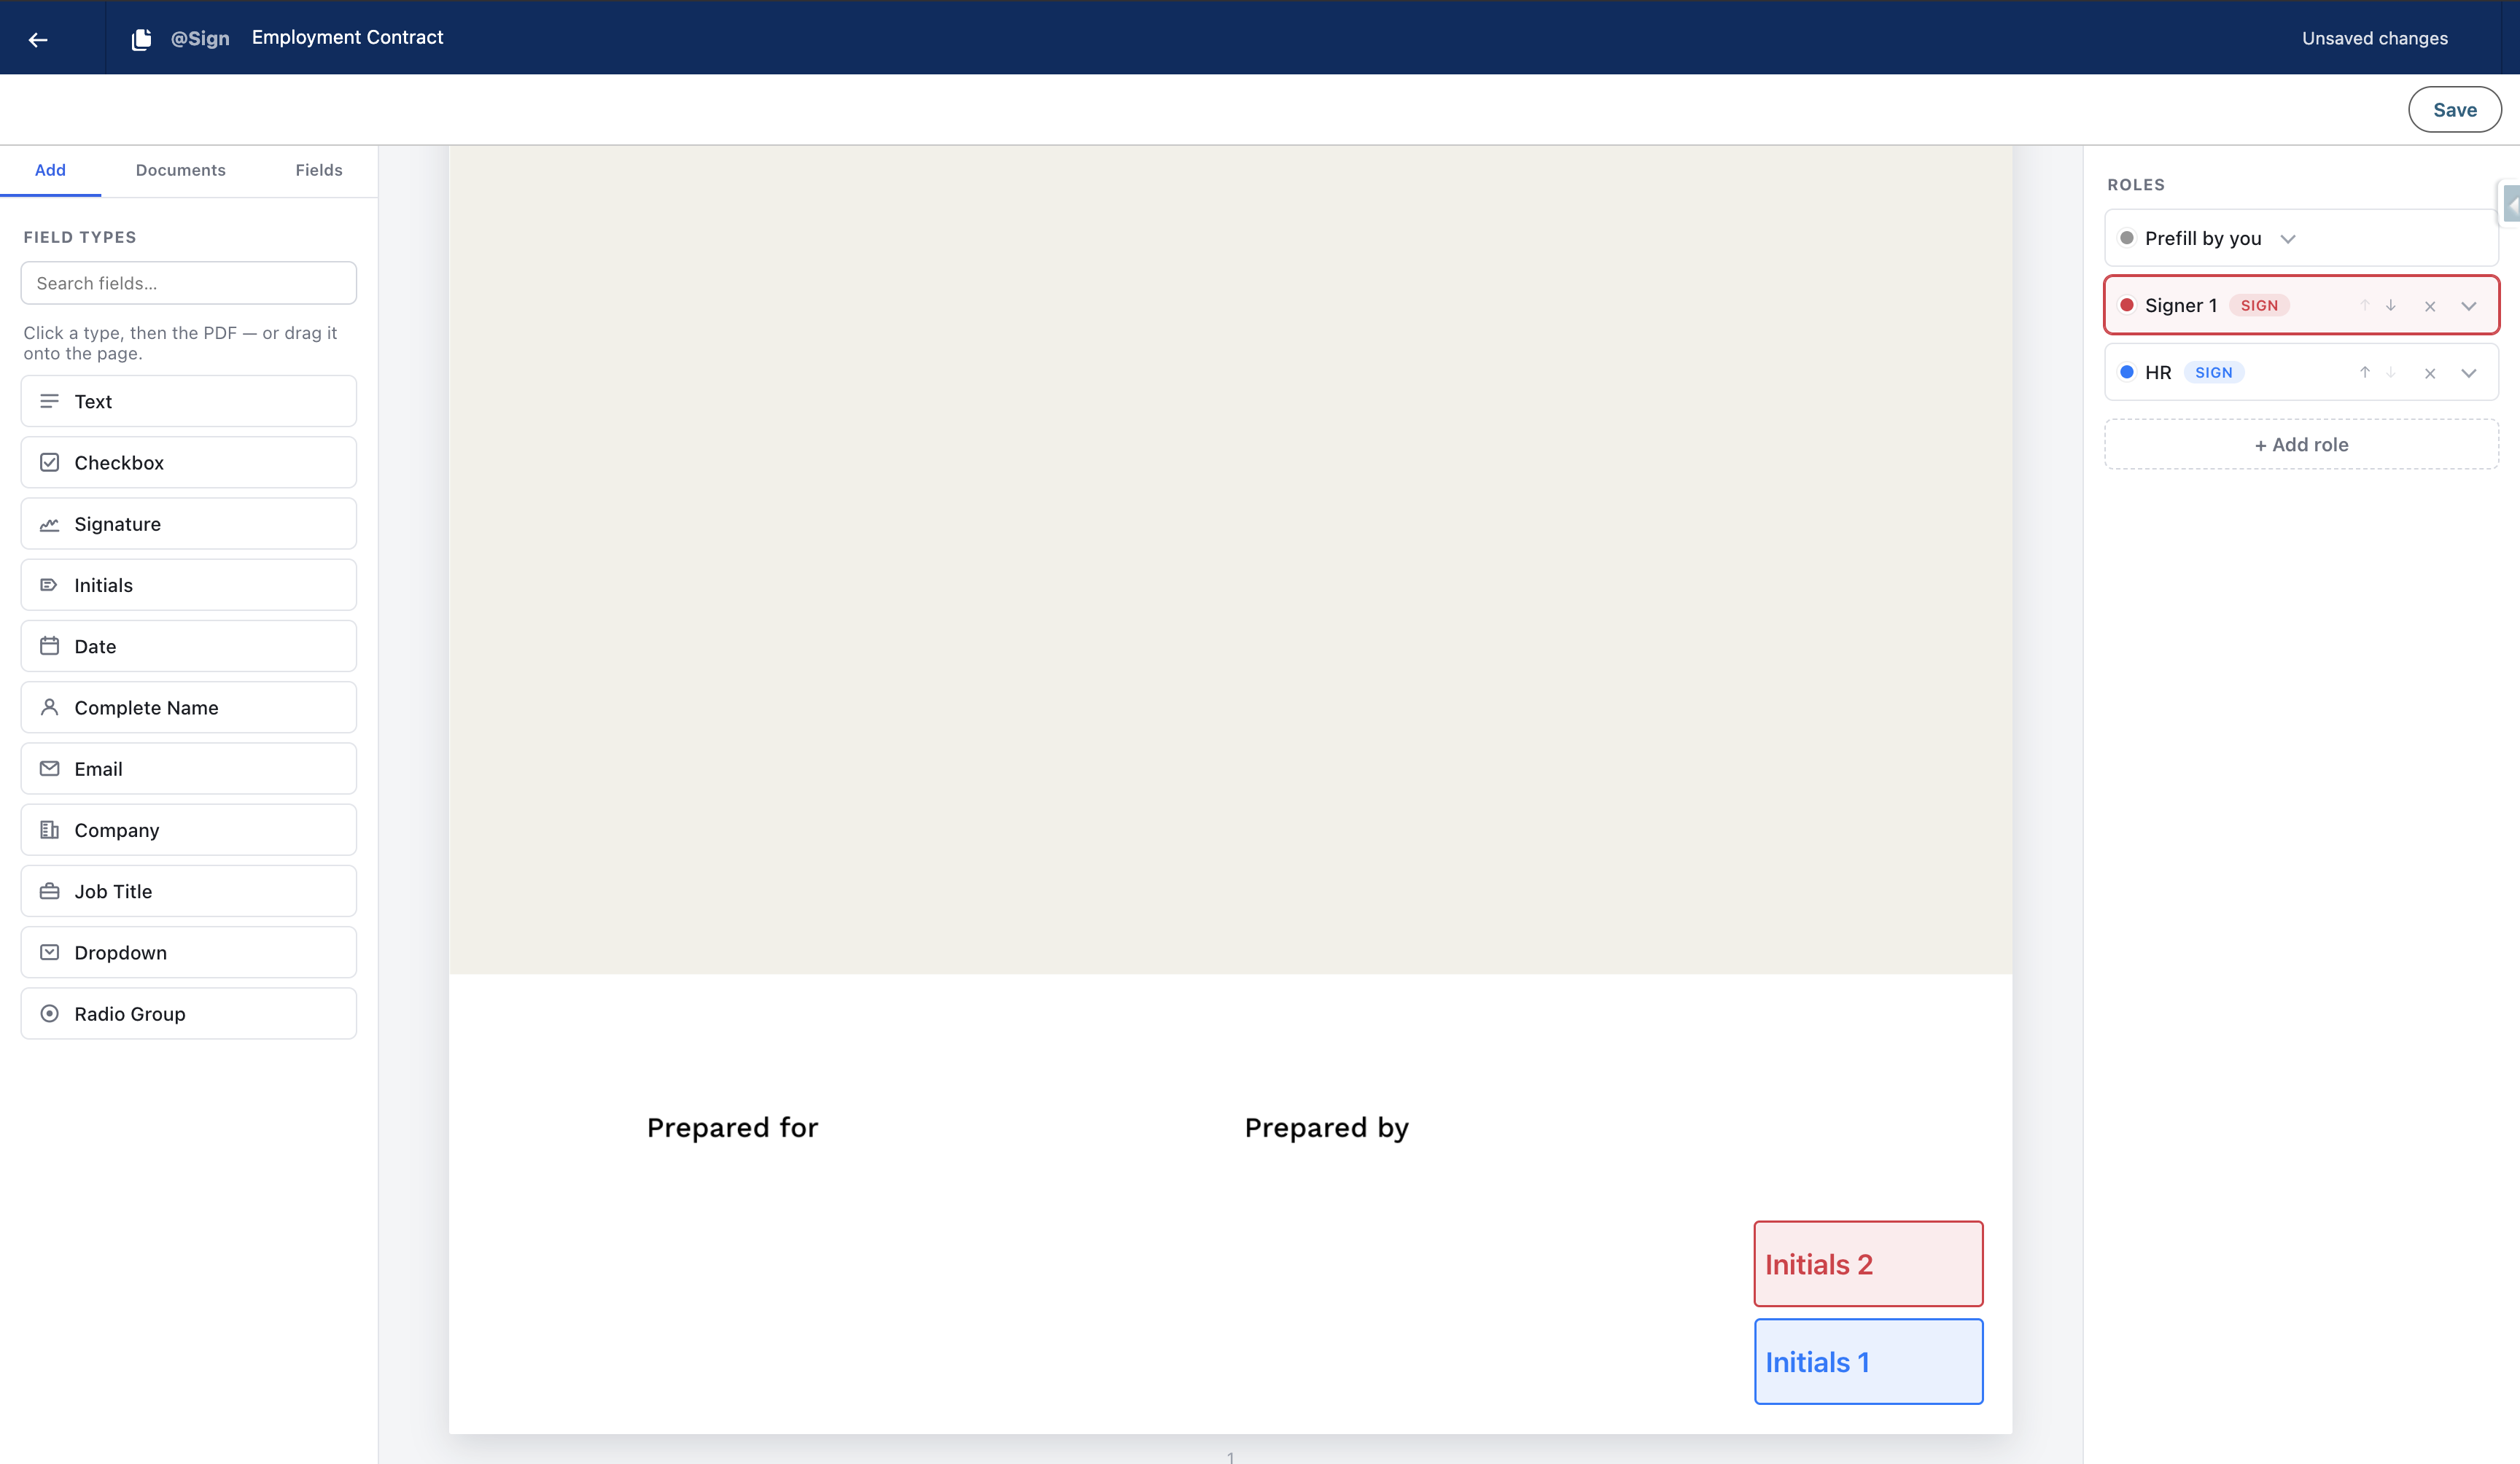
Drag to pan
Scroll to the signature section of the document and drag the signature fields into position for each signing role.
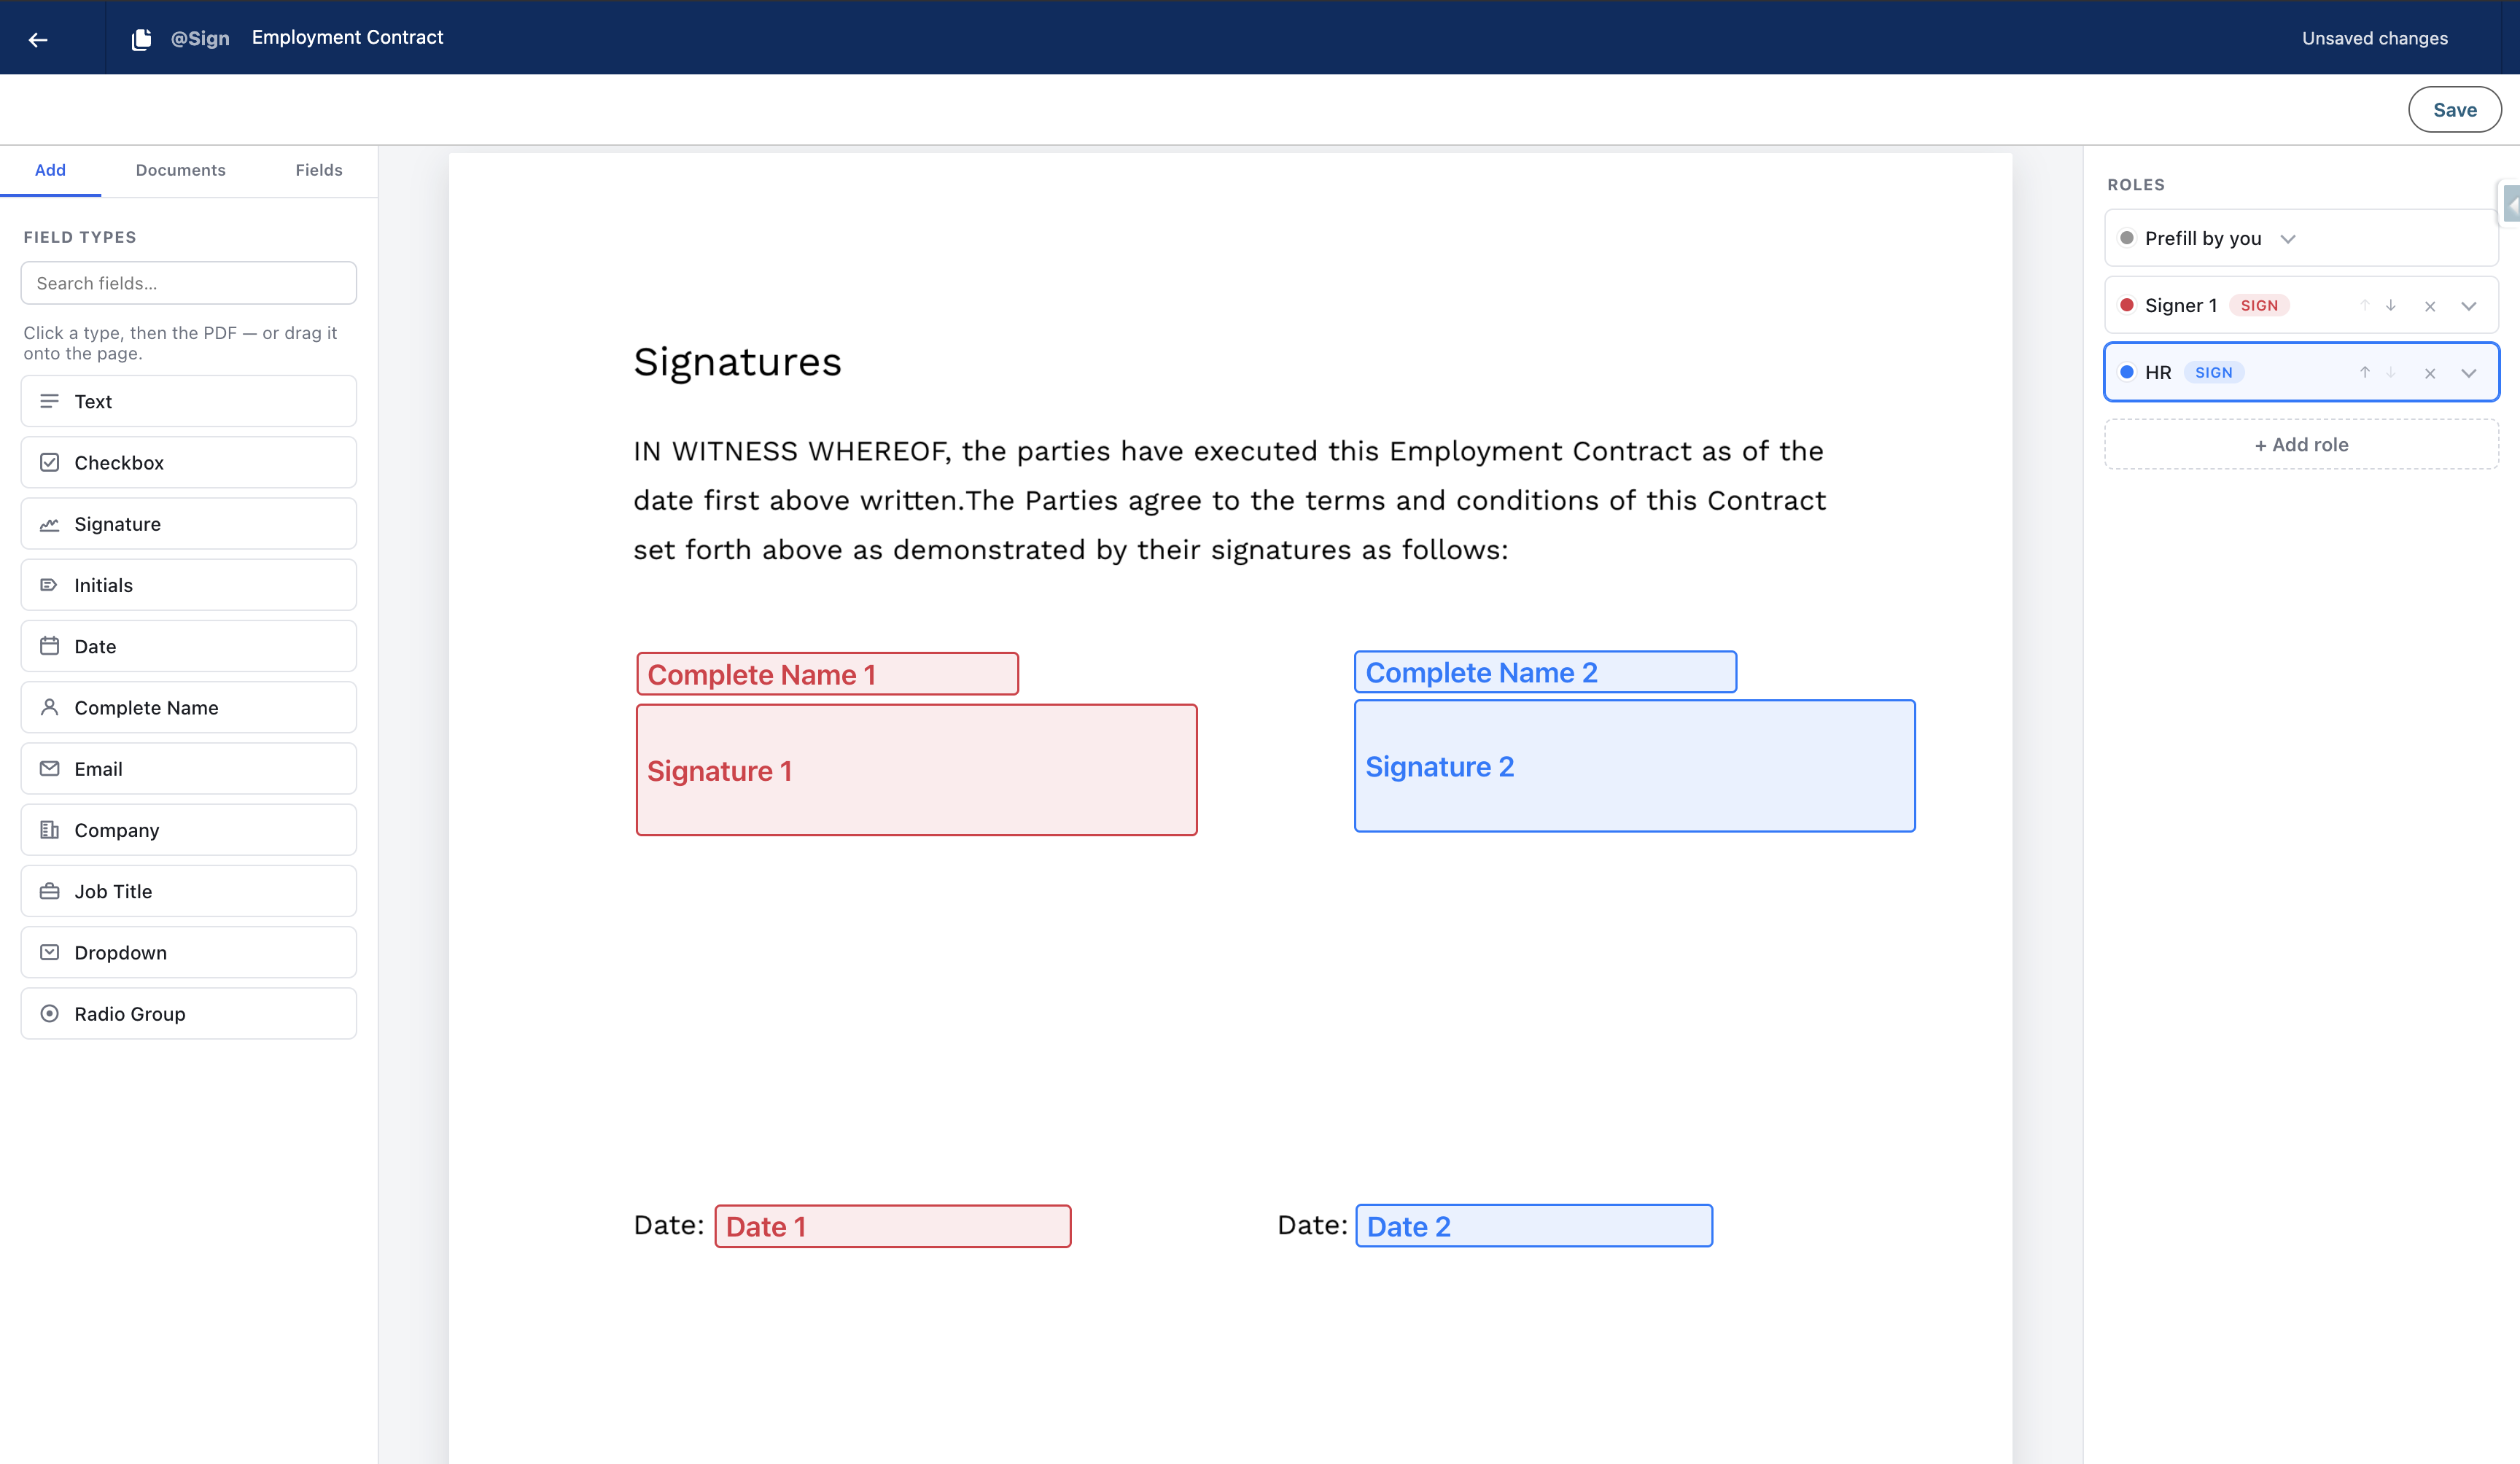
Zoho Sign Template Editor
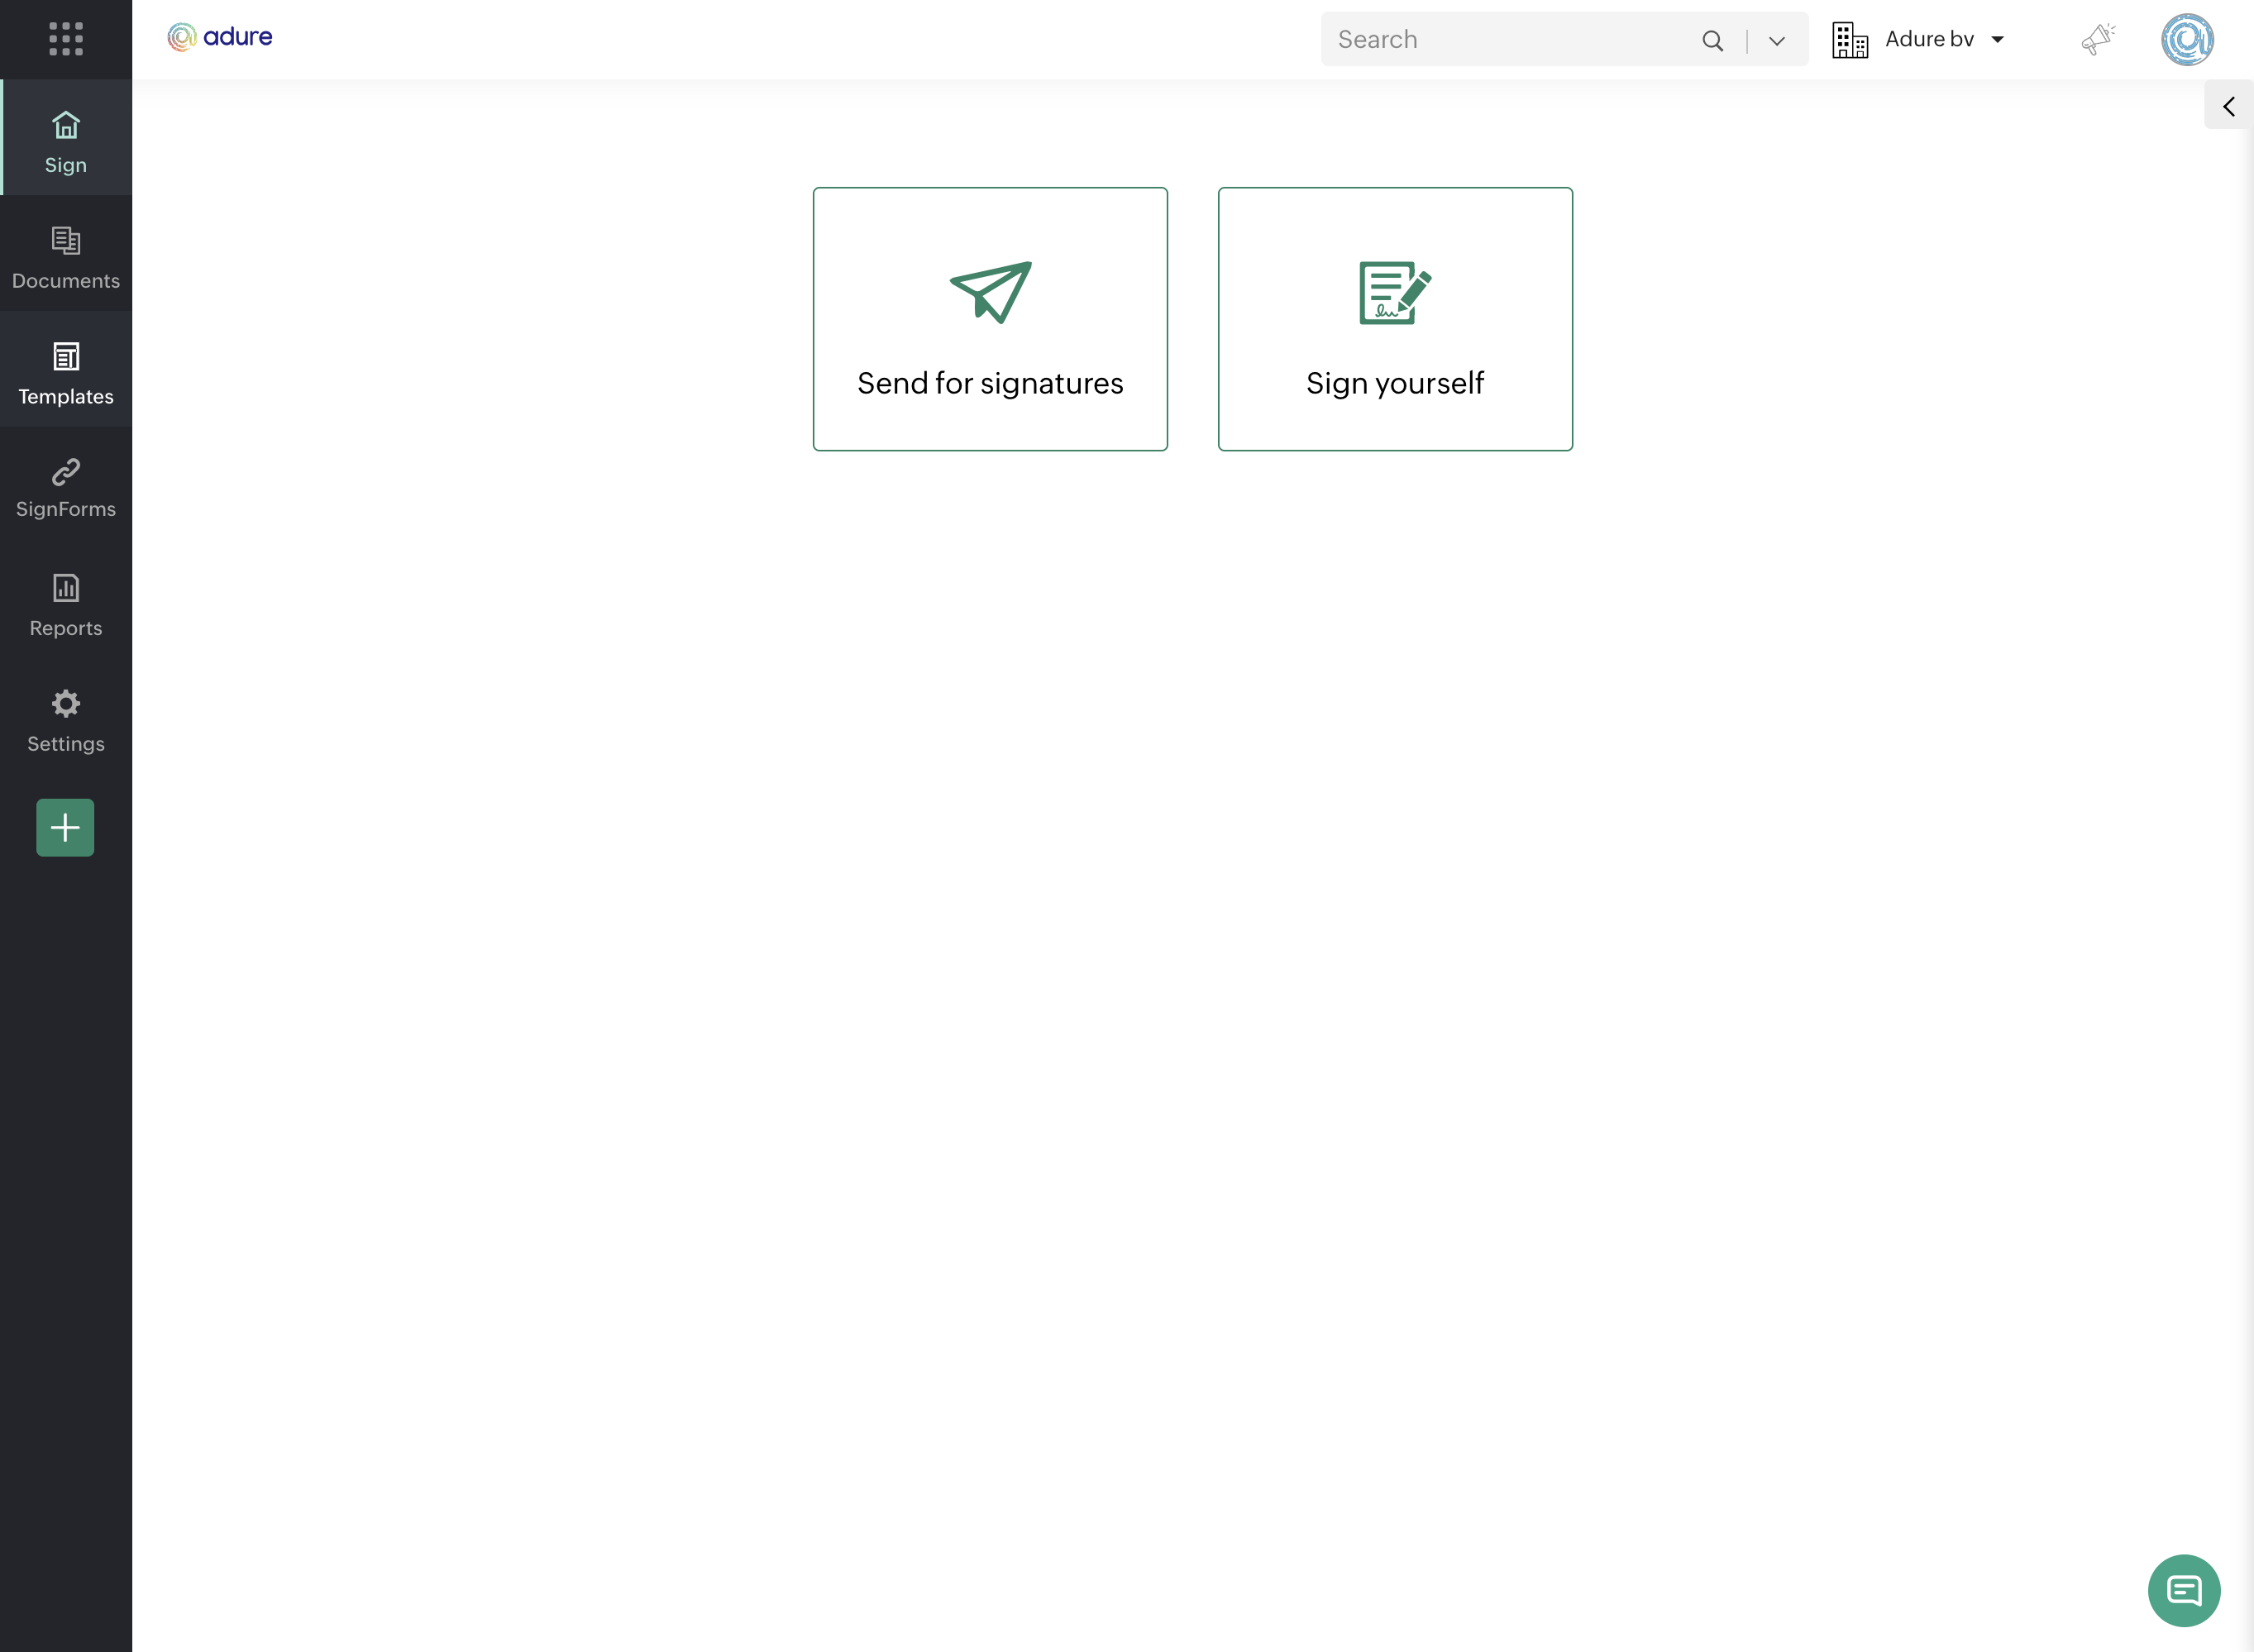
Open Zoho Sign in your browser, log in, and navigate to the 'Templates' section.
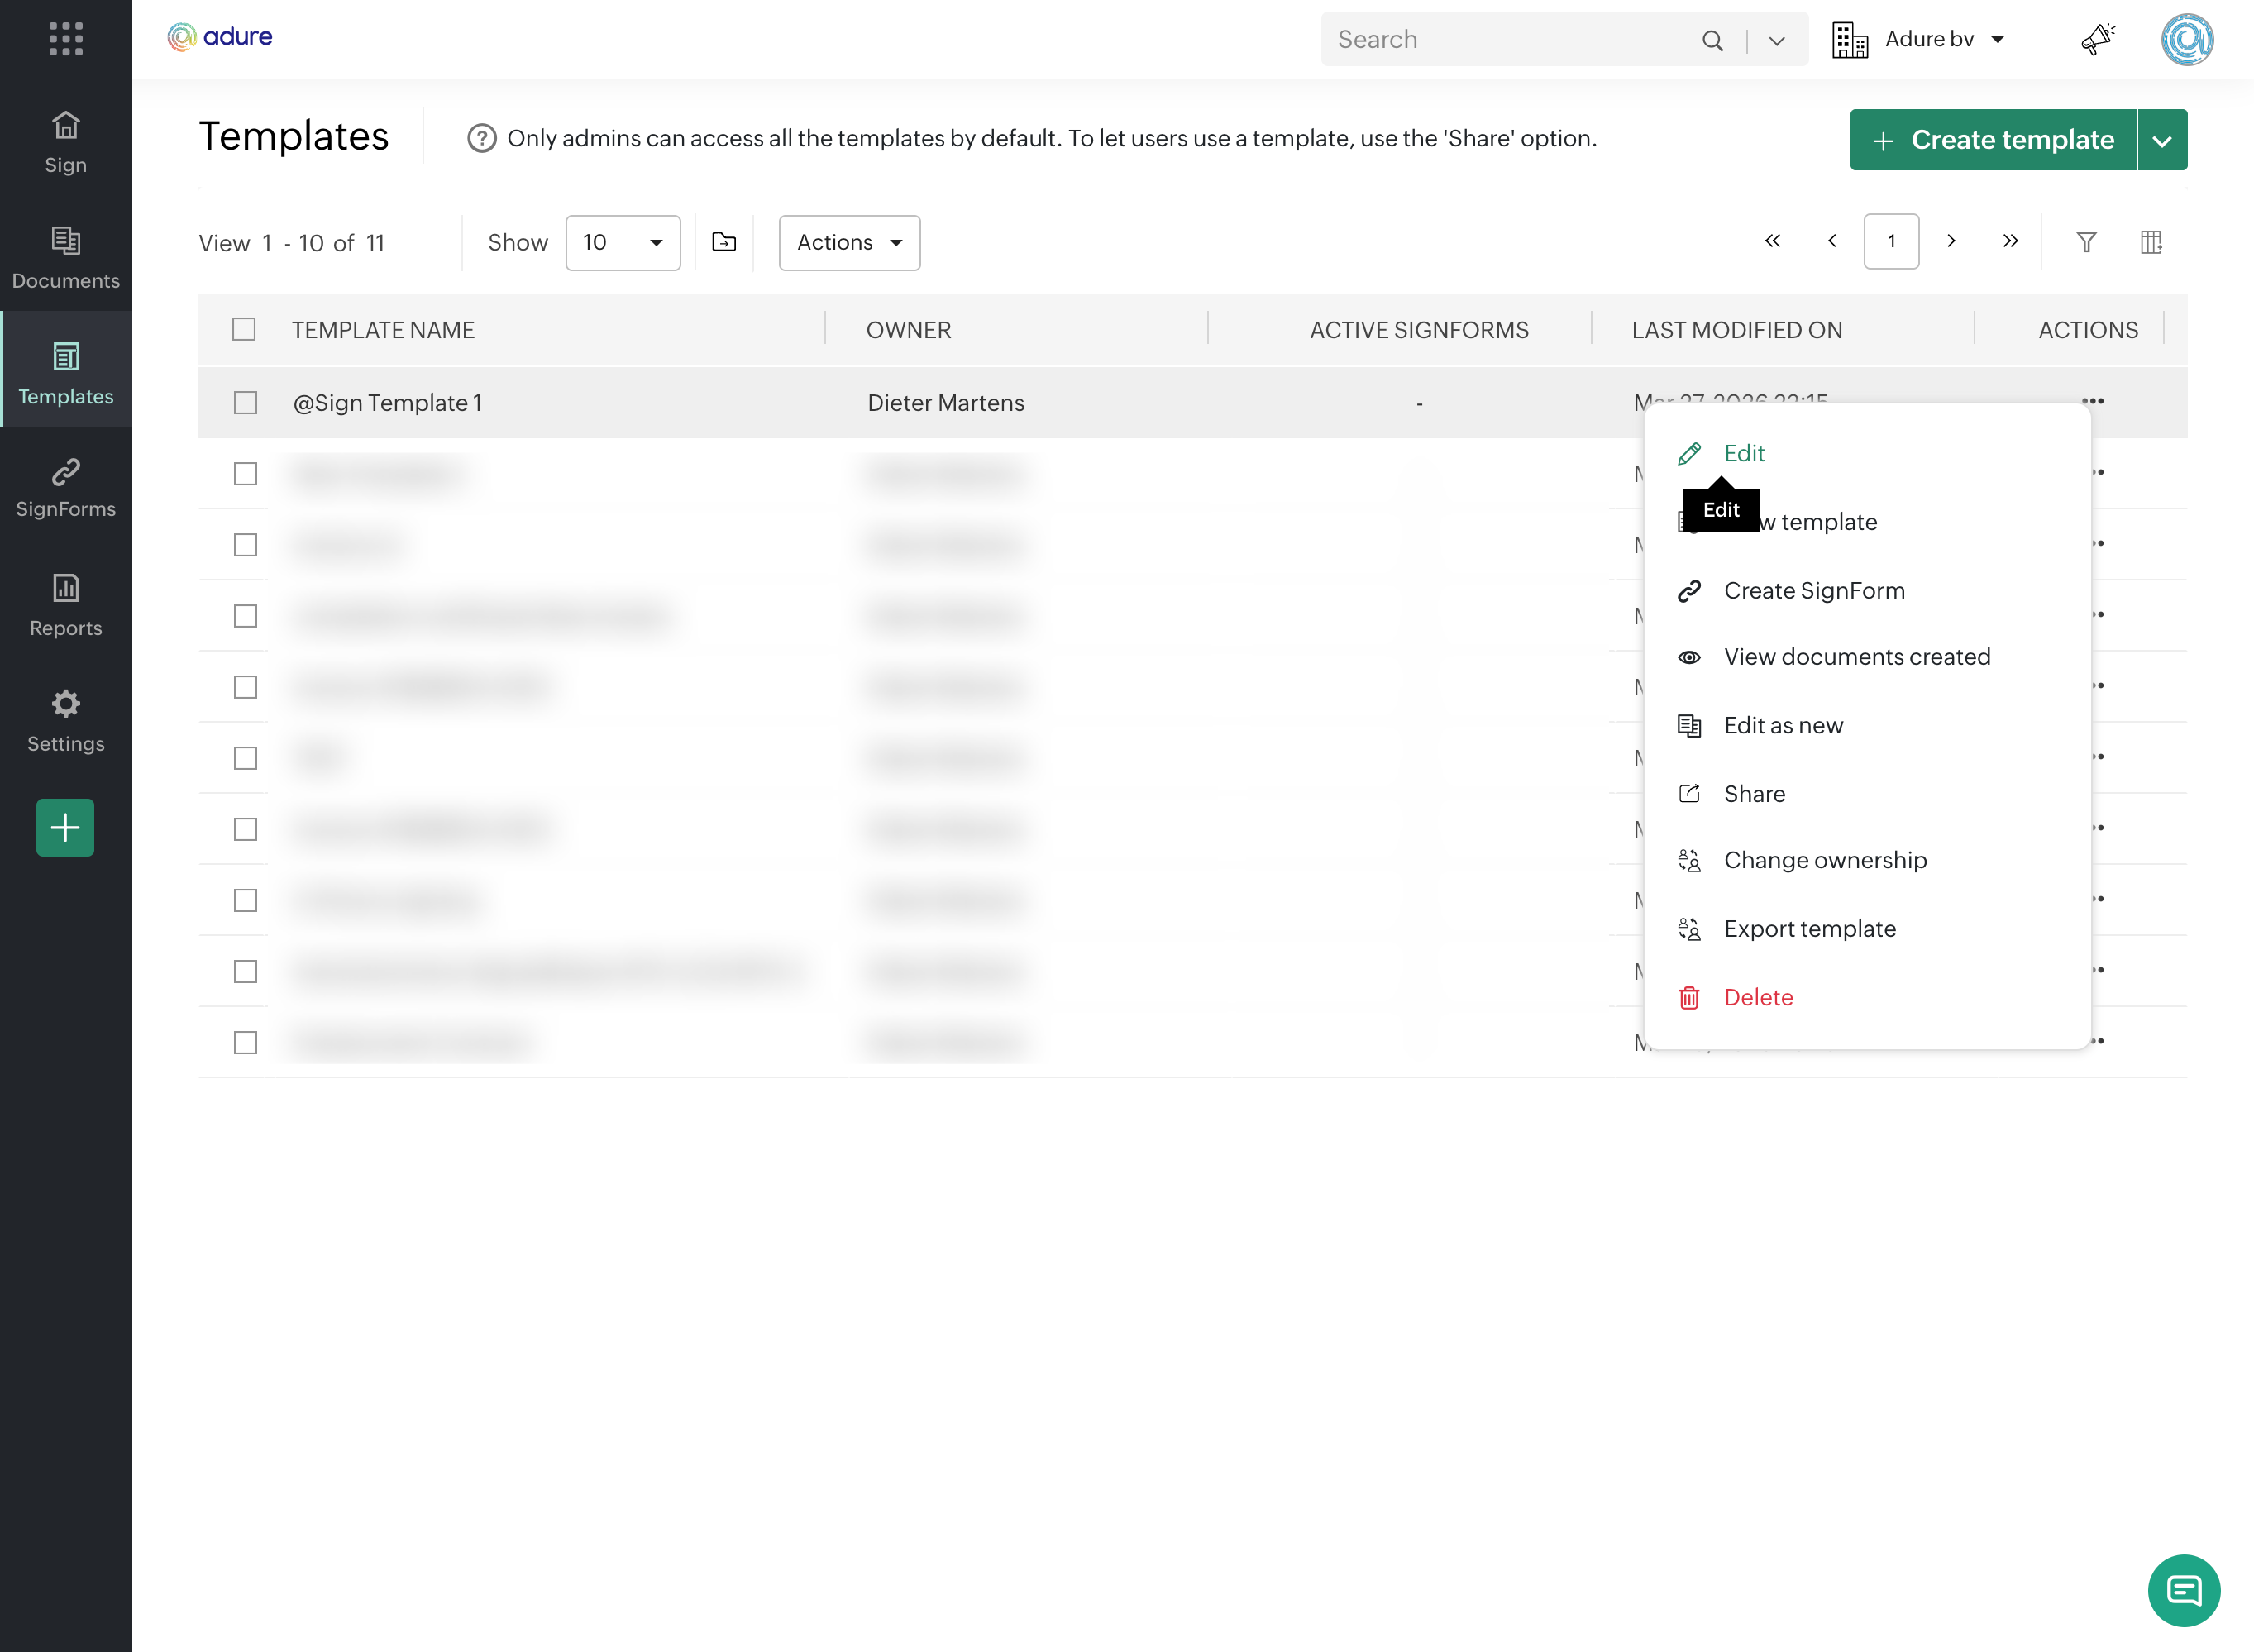
Search for the template you want to update and click 'Edit', or start a new one from scratch.
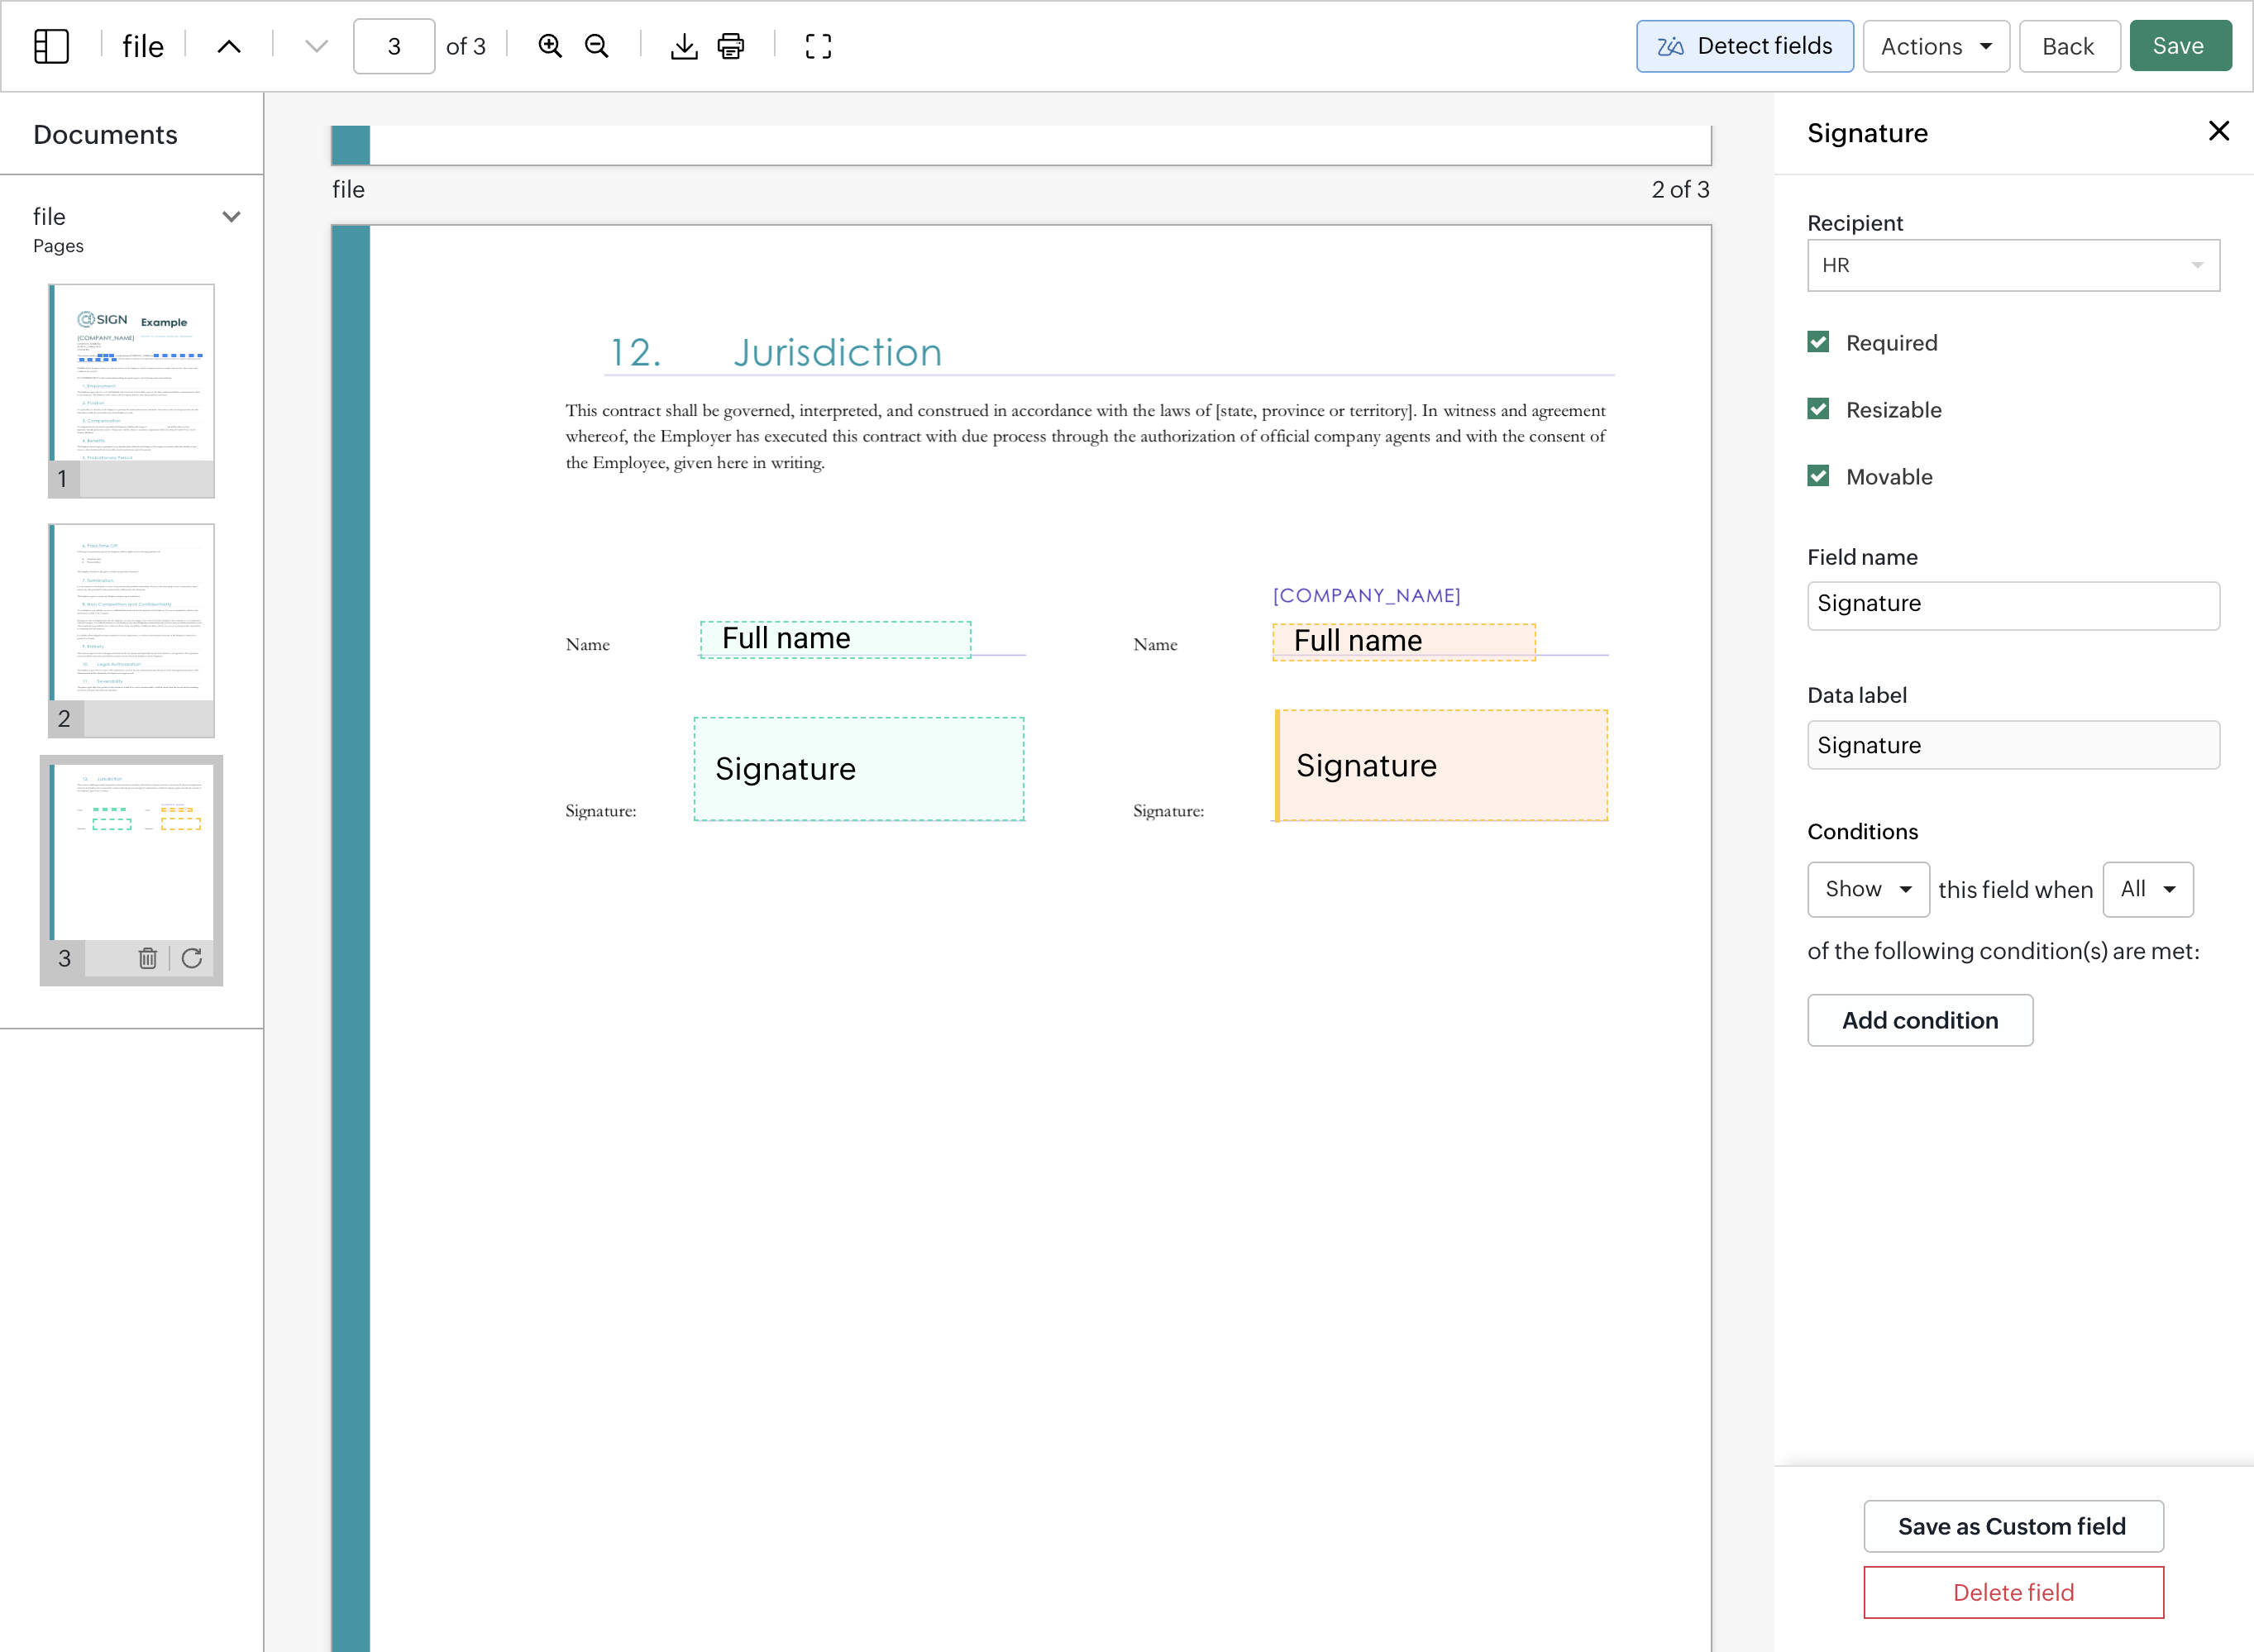
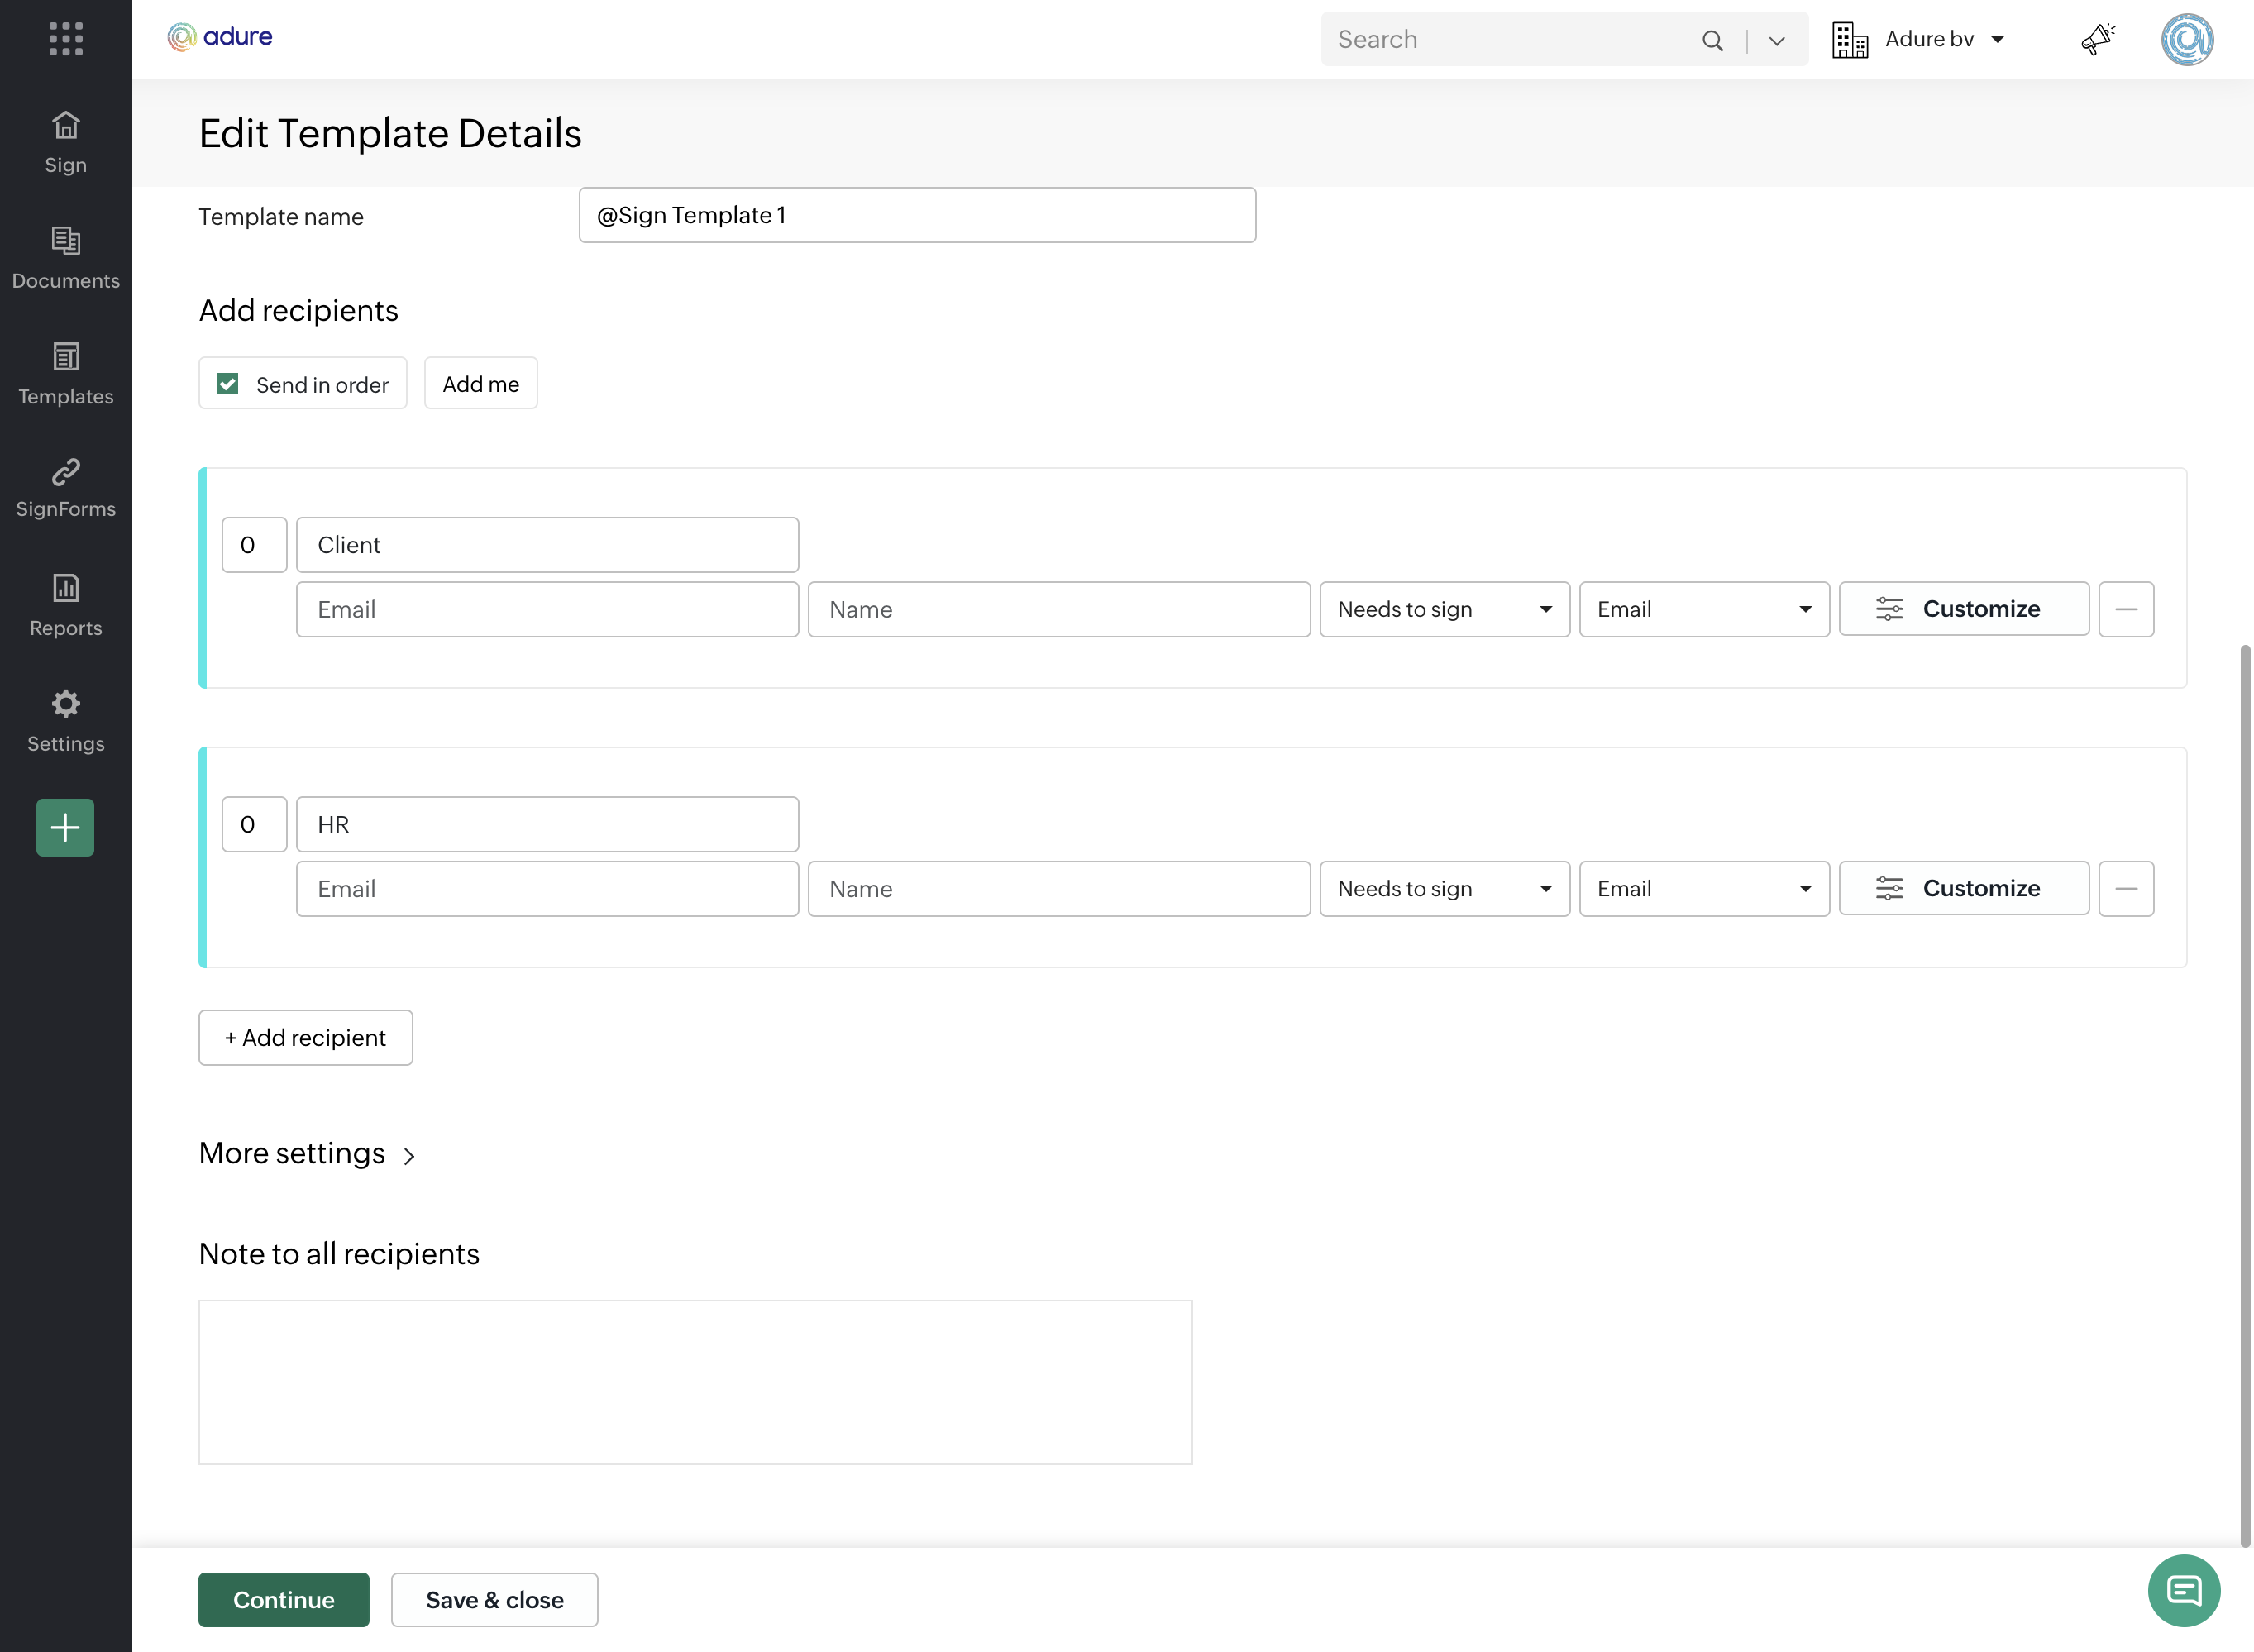
On the first screen, you can add or replace the document and define all the signer roles for this template.
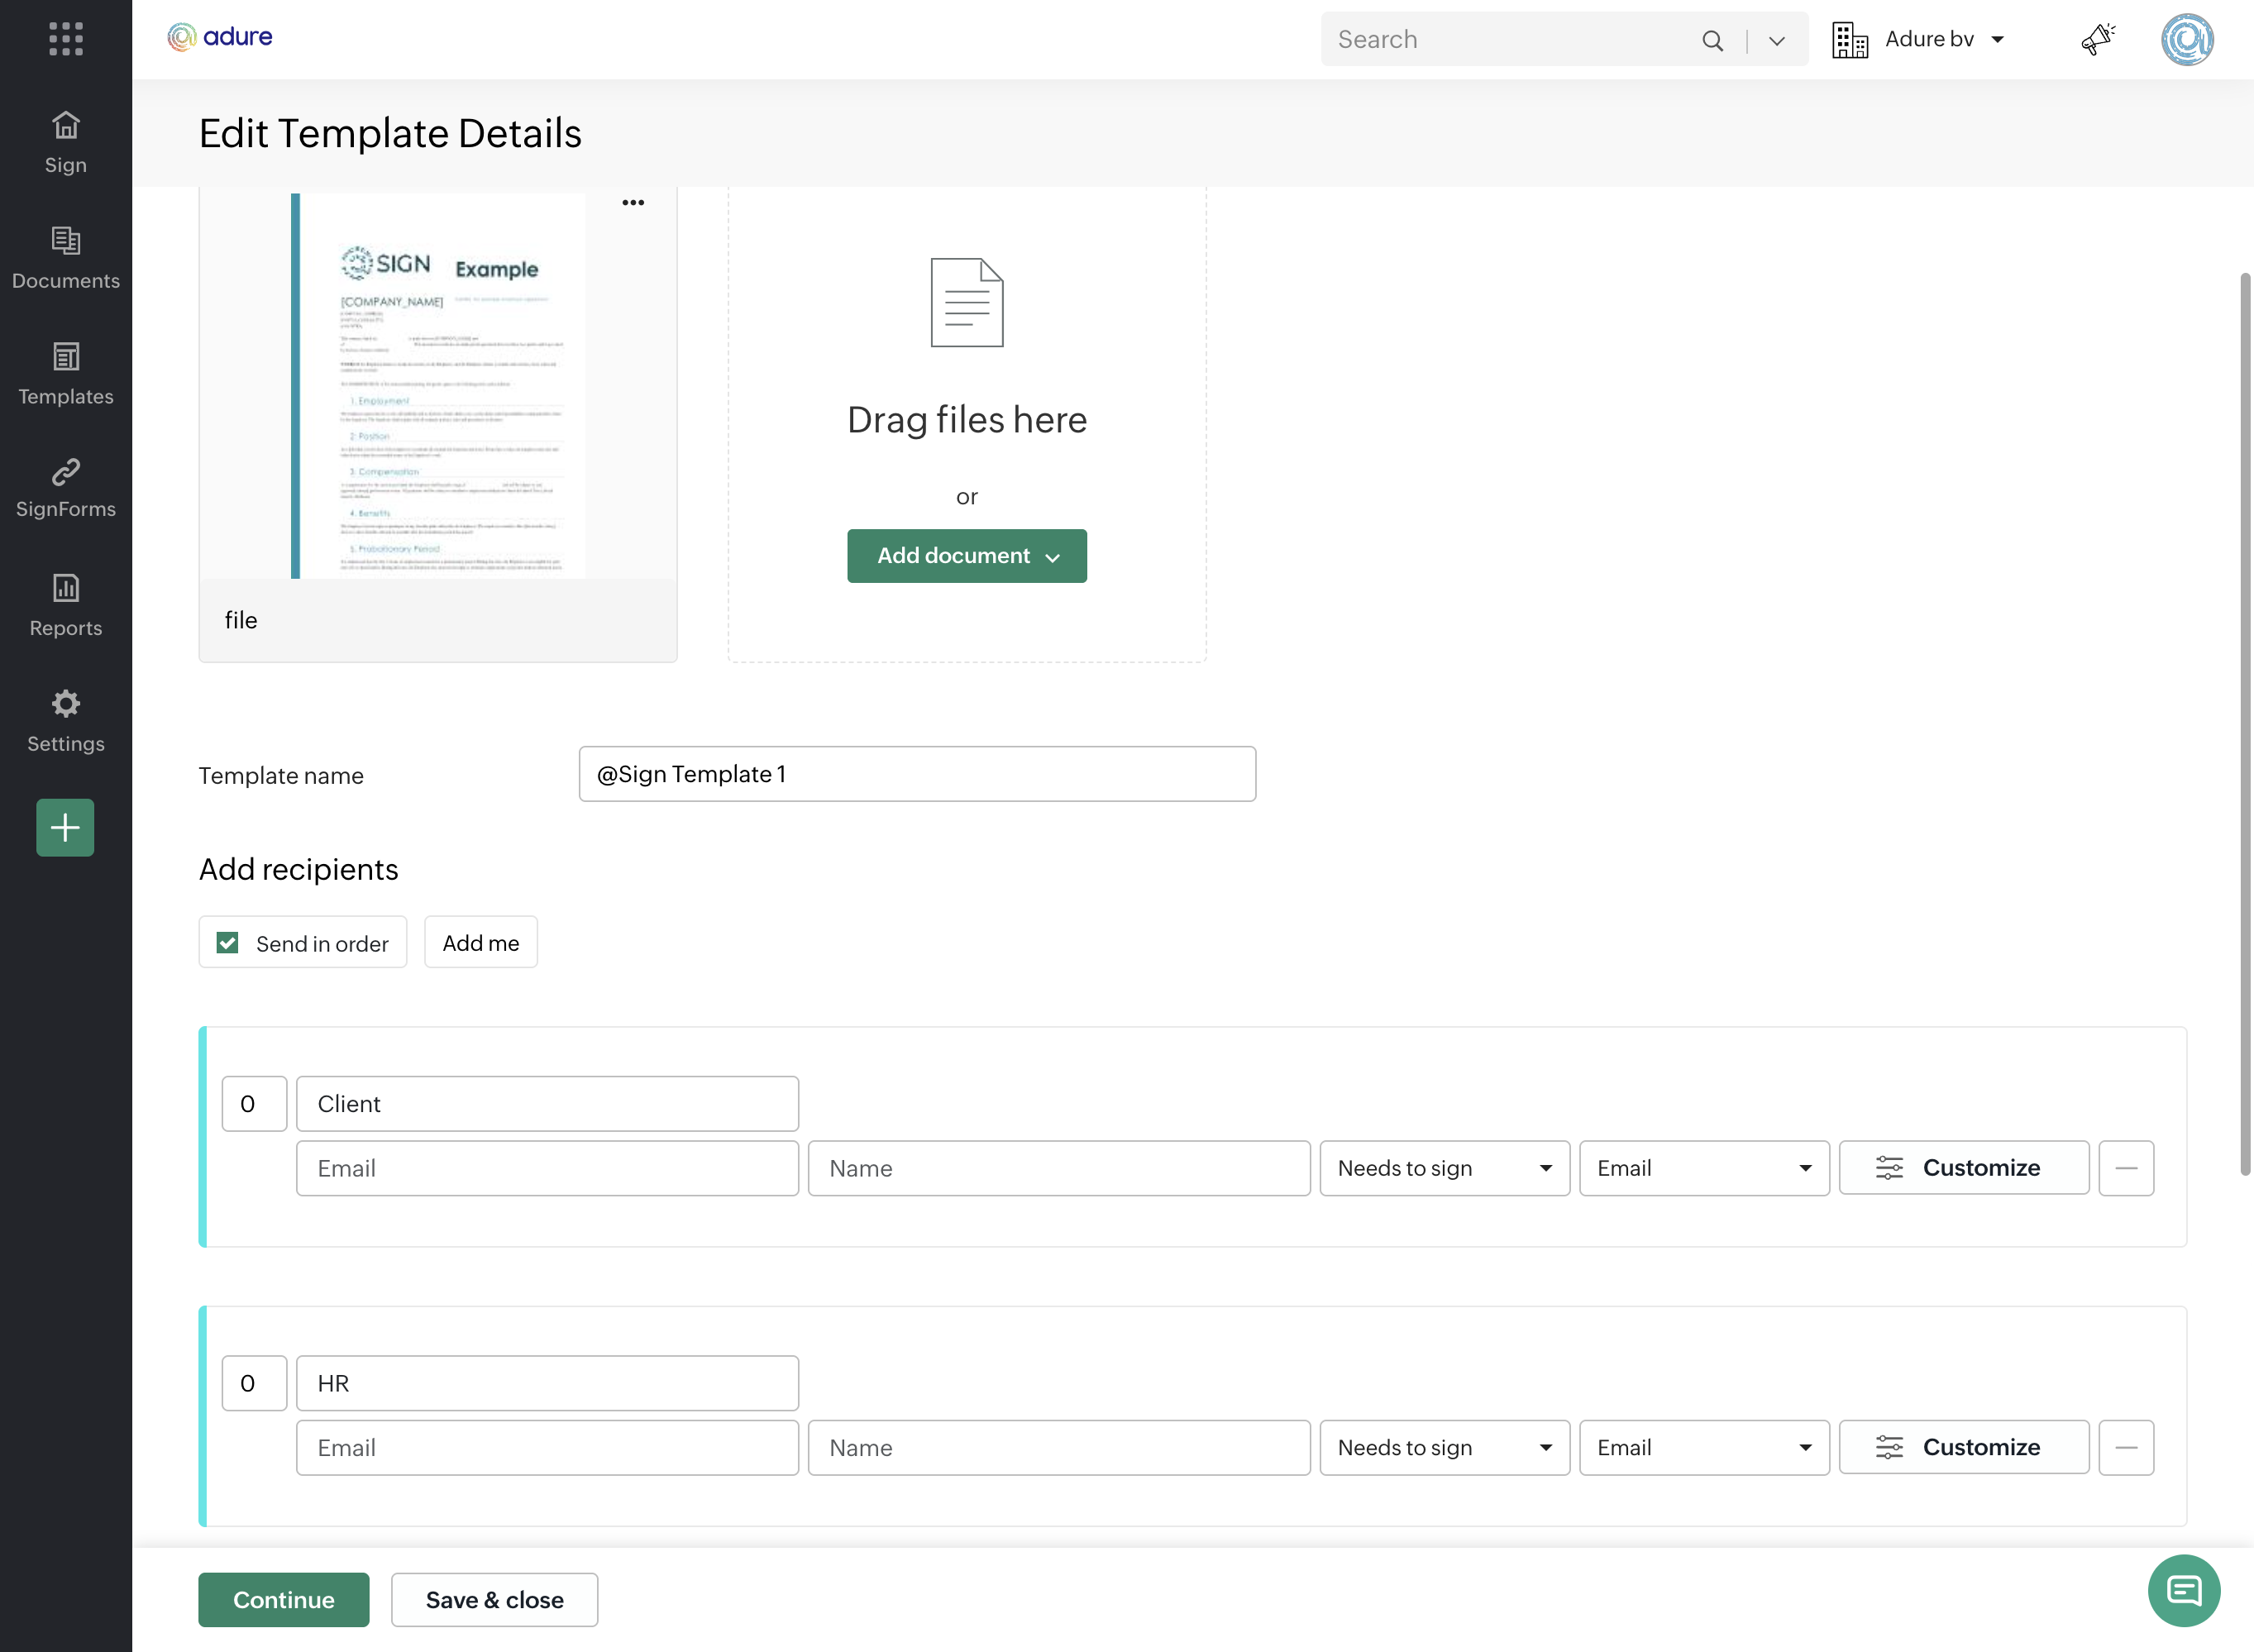
Once your documents and roles are set up, click 'Continue' to move on to placing the fields.
On this screen, assign fields to each signer role — it works the same way as the built-in editor inside Salesforce.
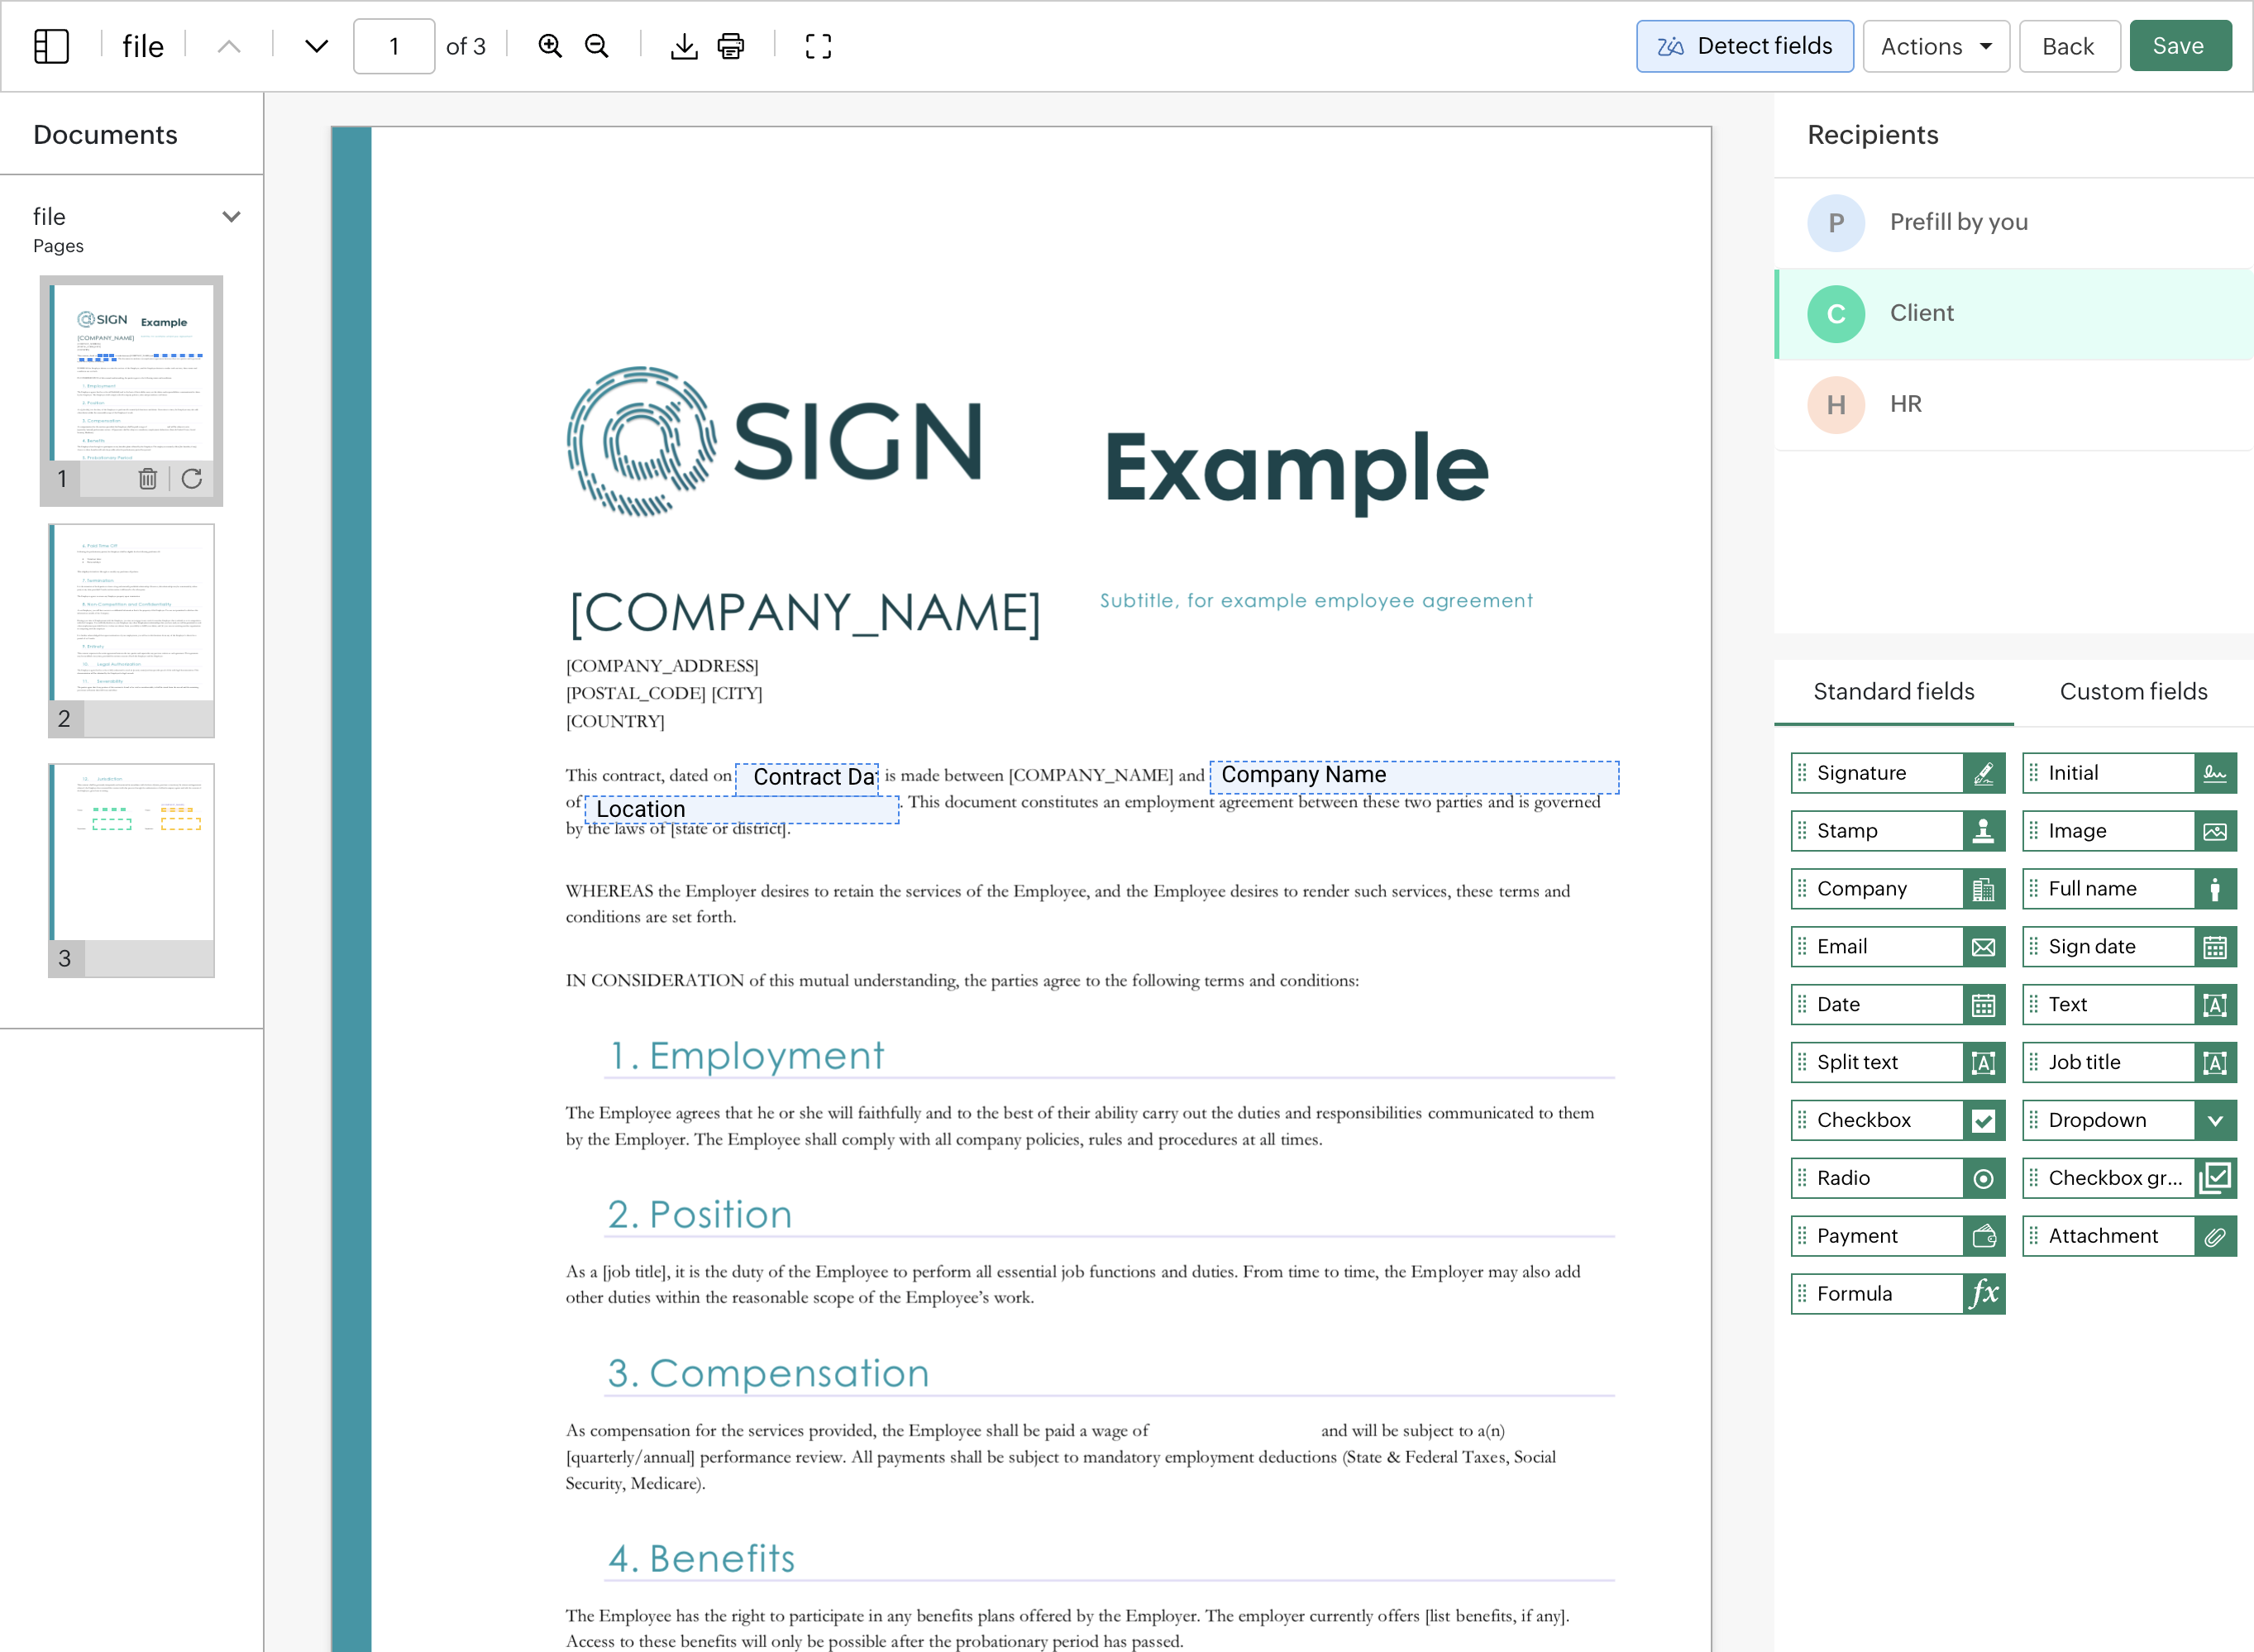
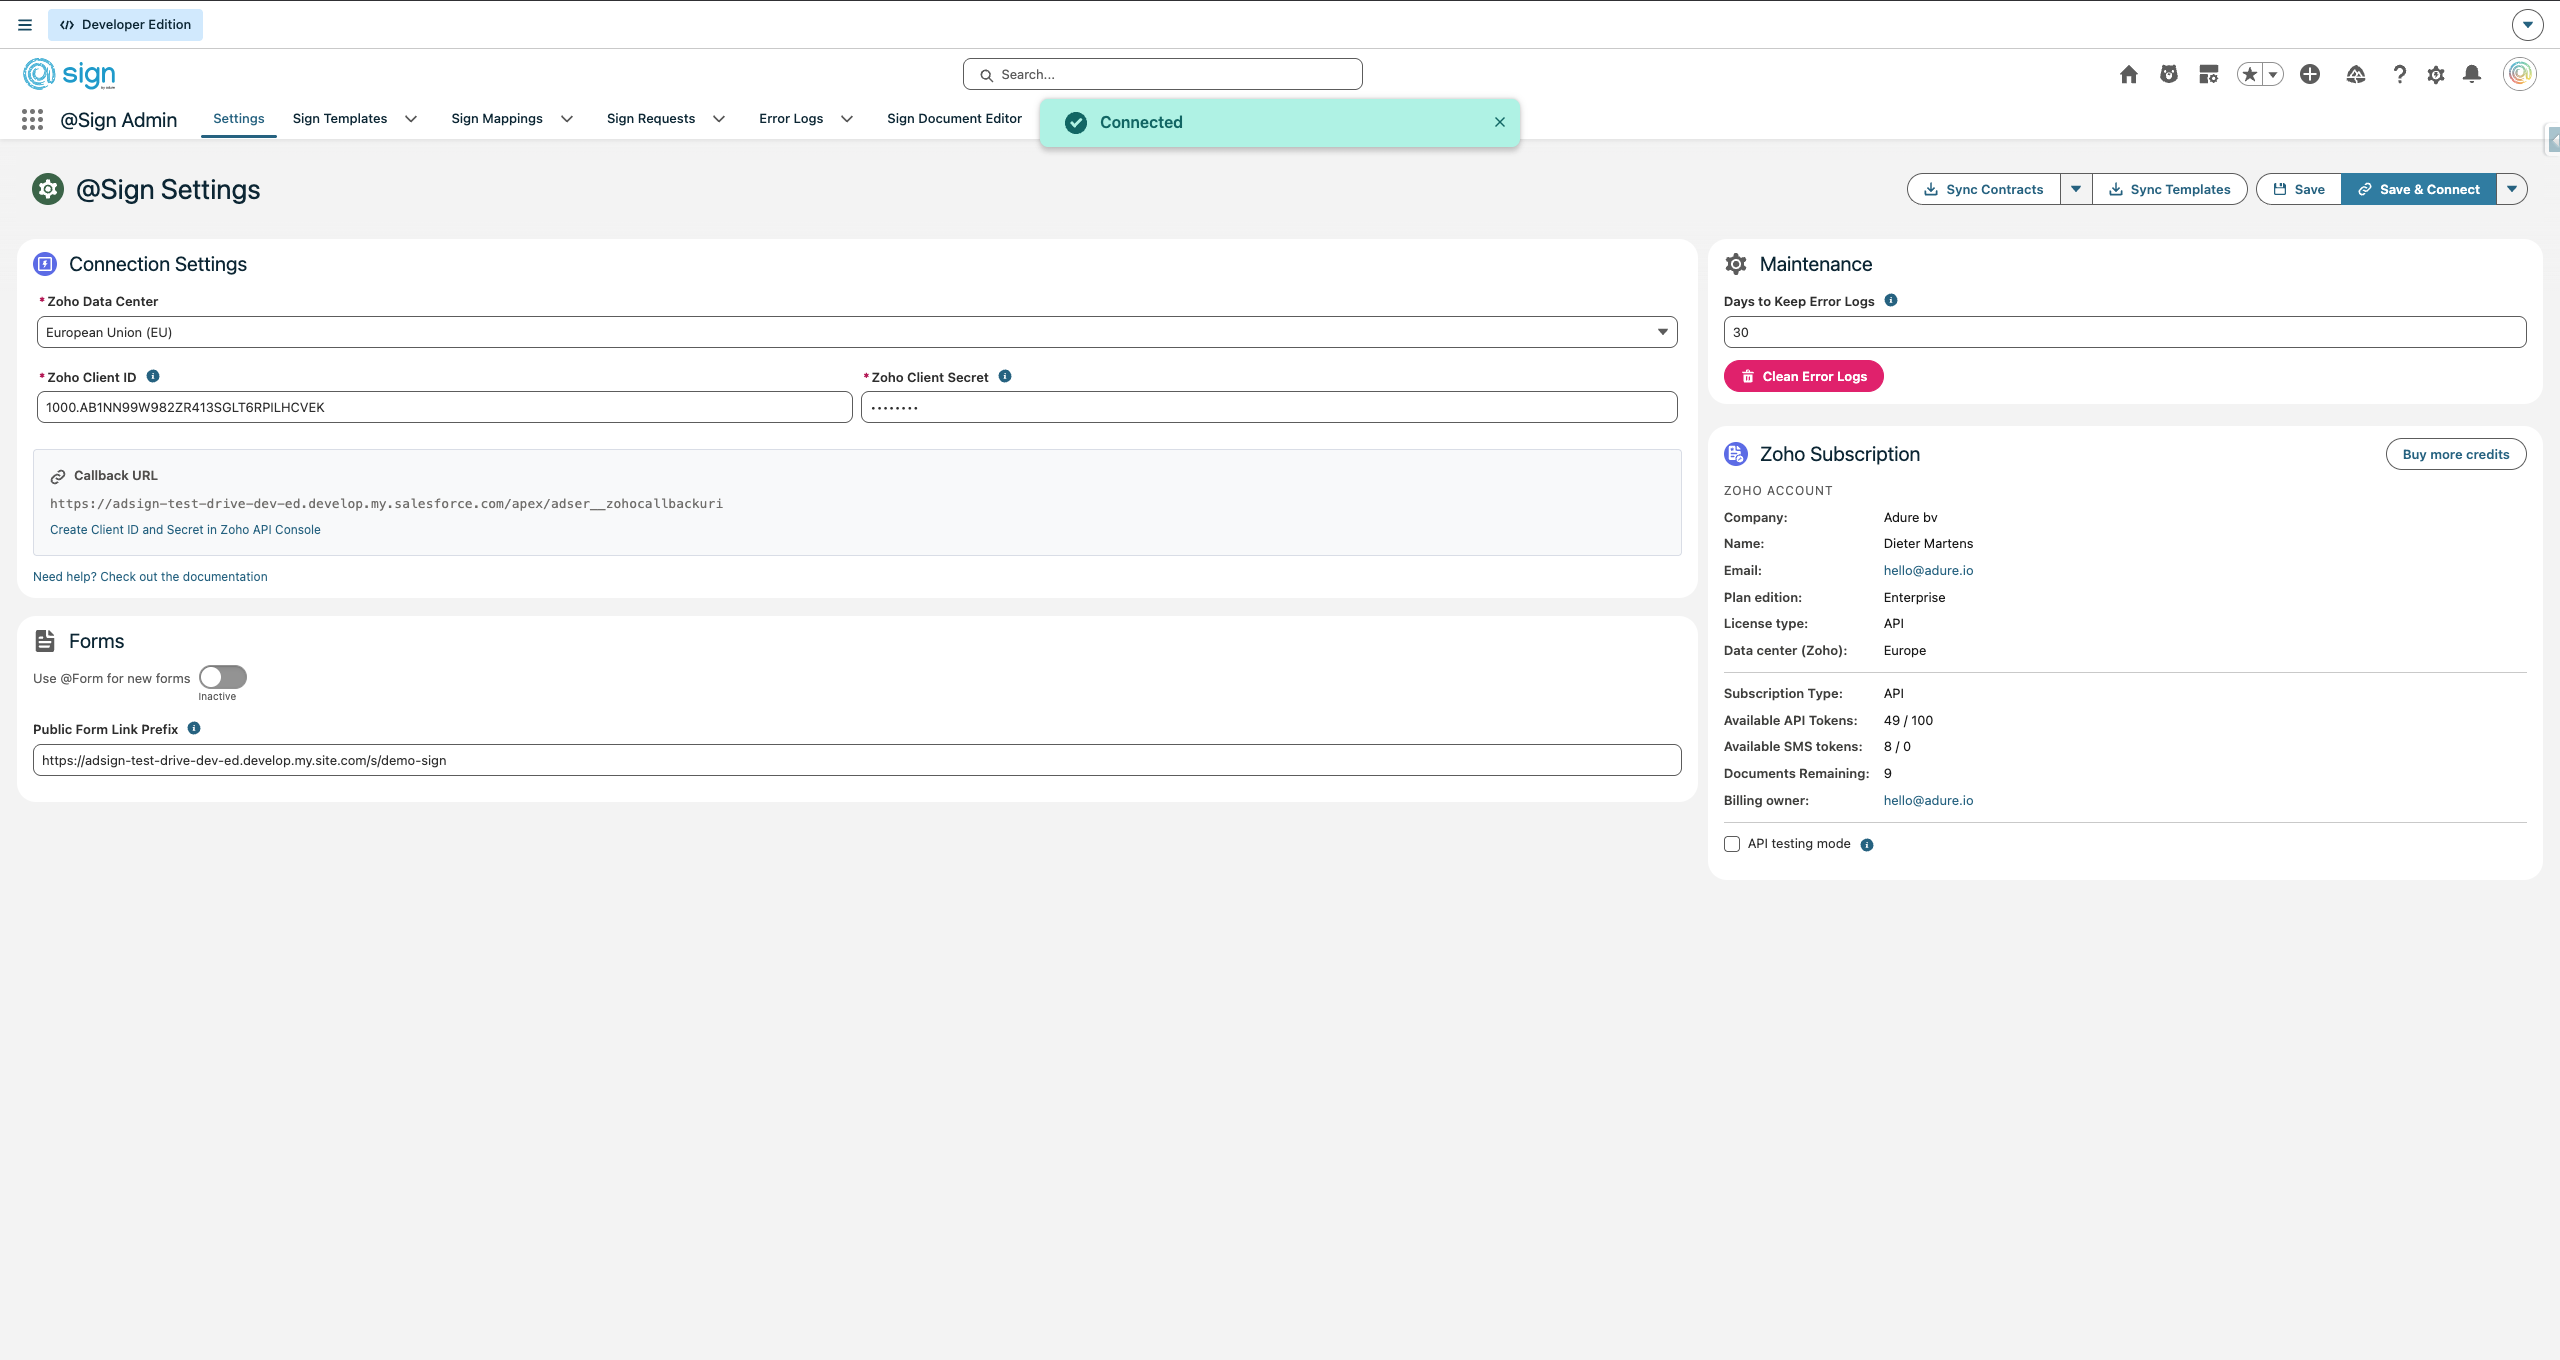
Save the template. It will automatically sync back into @Sign within 15 minutes, or immediately if you trigger a manual sync.